Let's talk about these cocoa buttermilk waffles, aka red velvet waffles that skipped the dramatic red dye. With that signature tang from a splash of vinegar, cocoa powder, and the classic buttermilk flavors, these waffles are sure to impress. Basically, they're proof that the magic of red velvet was never about the color anyway.
Who gets to say that red velvet waffles MUST be a deep, crimson red? Not me. Not in my book, err, on my website. Just like my fluffy pumpkin waffles, cinnamon with pear compote waffles, or my bailey's infused waffles, these waffles are essential for any morning, especially when shared with your favorite human(s) in the world (plural for the kiddos included)!
TL; DR Summary - Cocoa Buttermilk Waffles
- 👩🏼🍳 Bake Level: Easy/Beginner
- ⏱️ Bake Time: 15-20 minutes
- 📖 Dietary Info: Gluten, dairy, egg
- 😋 Taste: Tangy, sweet, chocolate
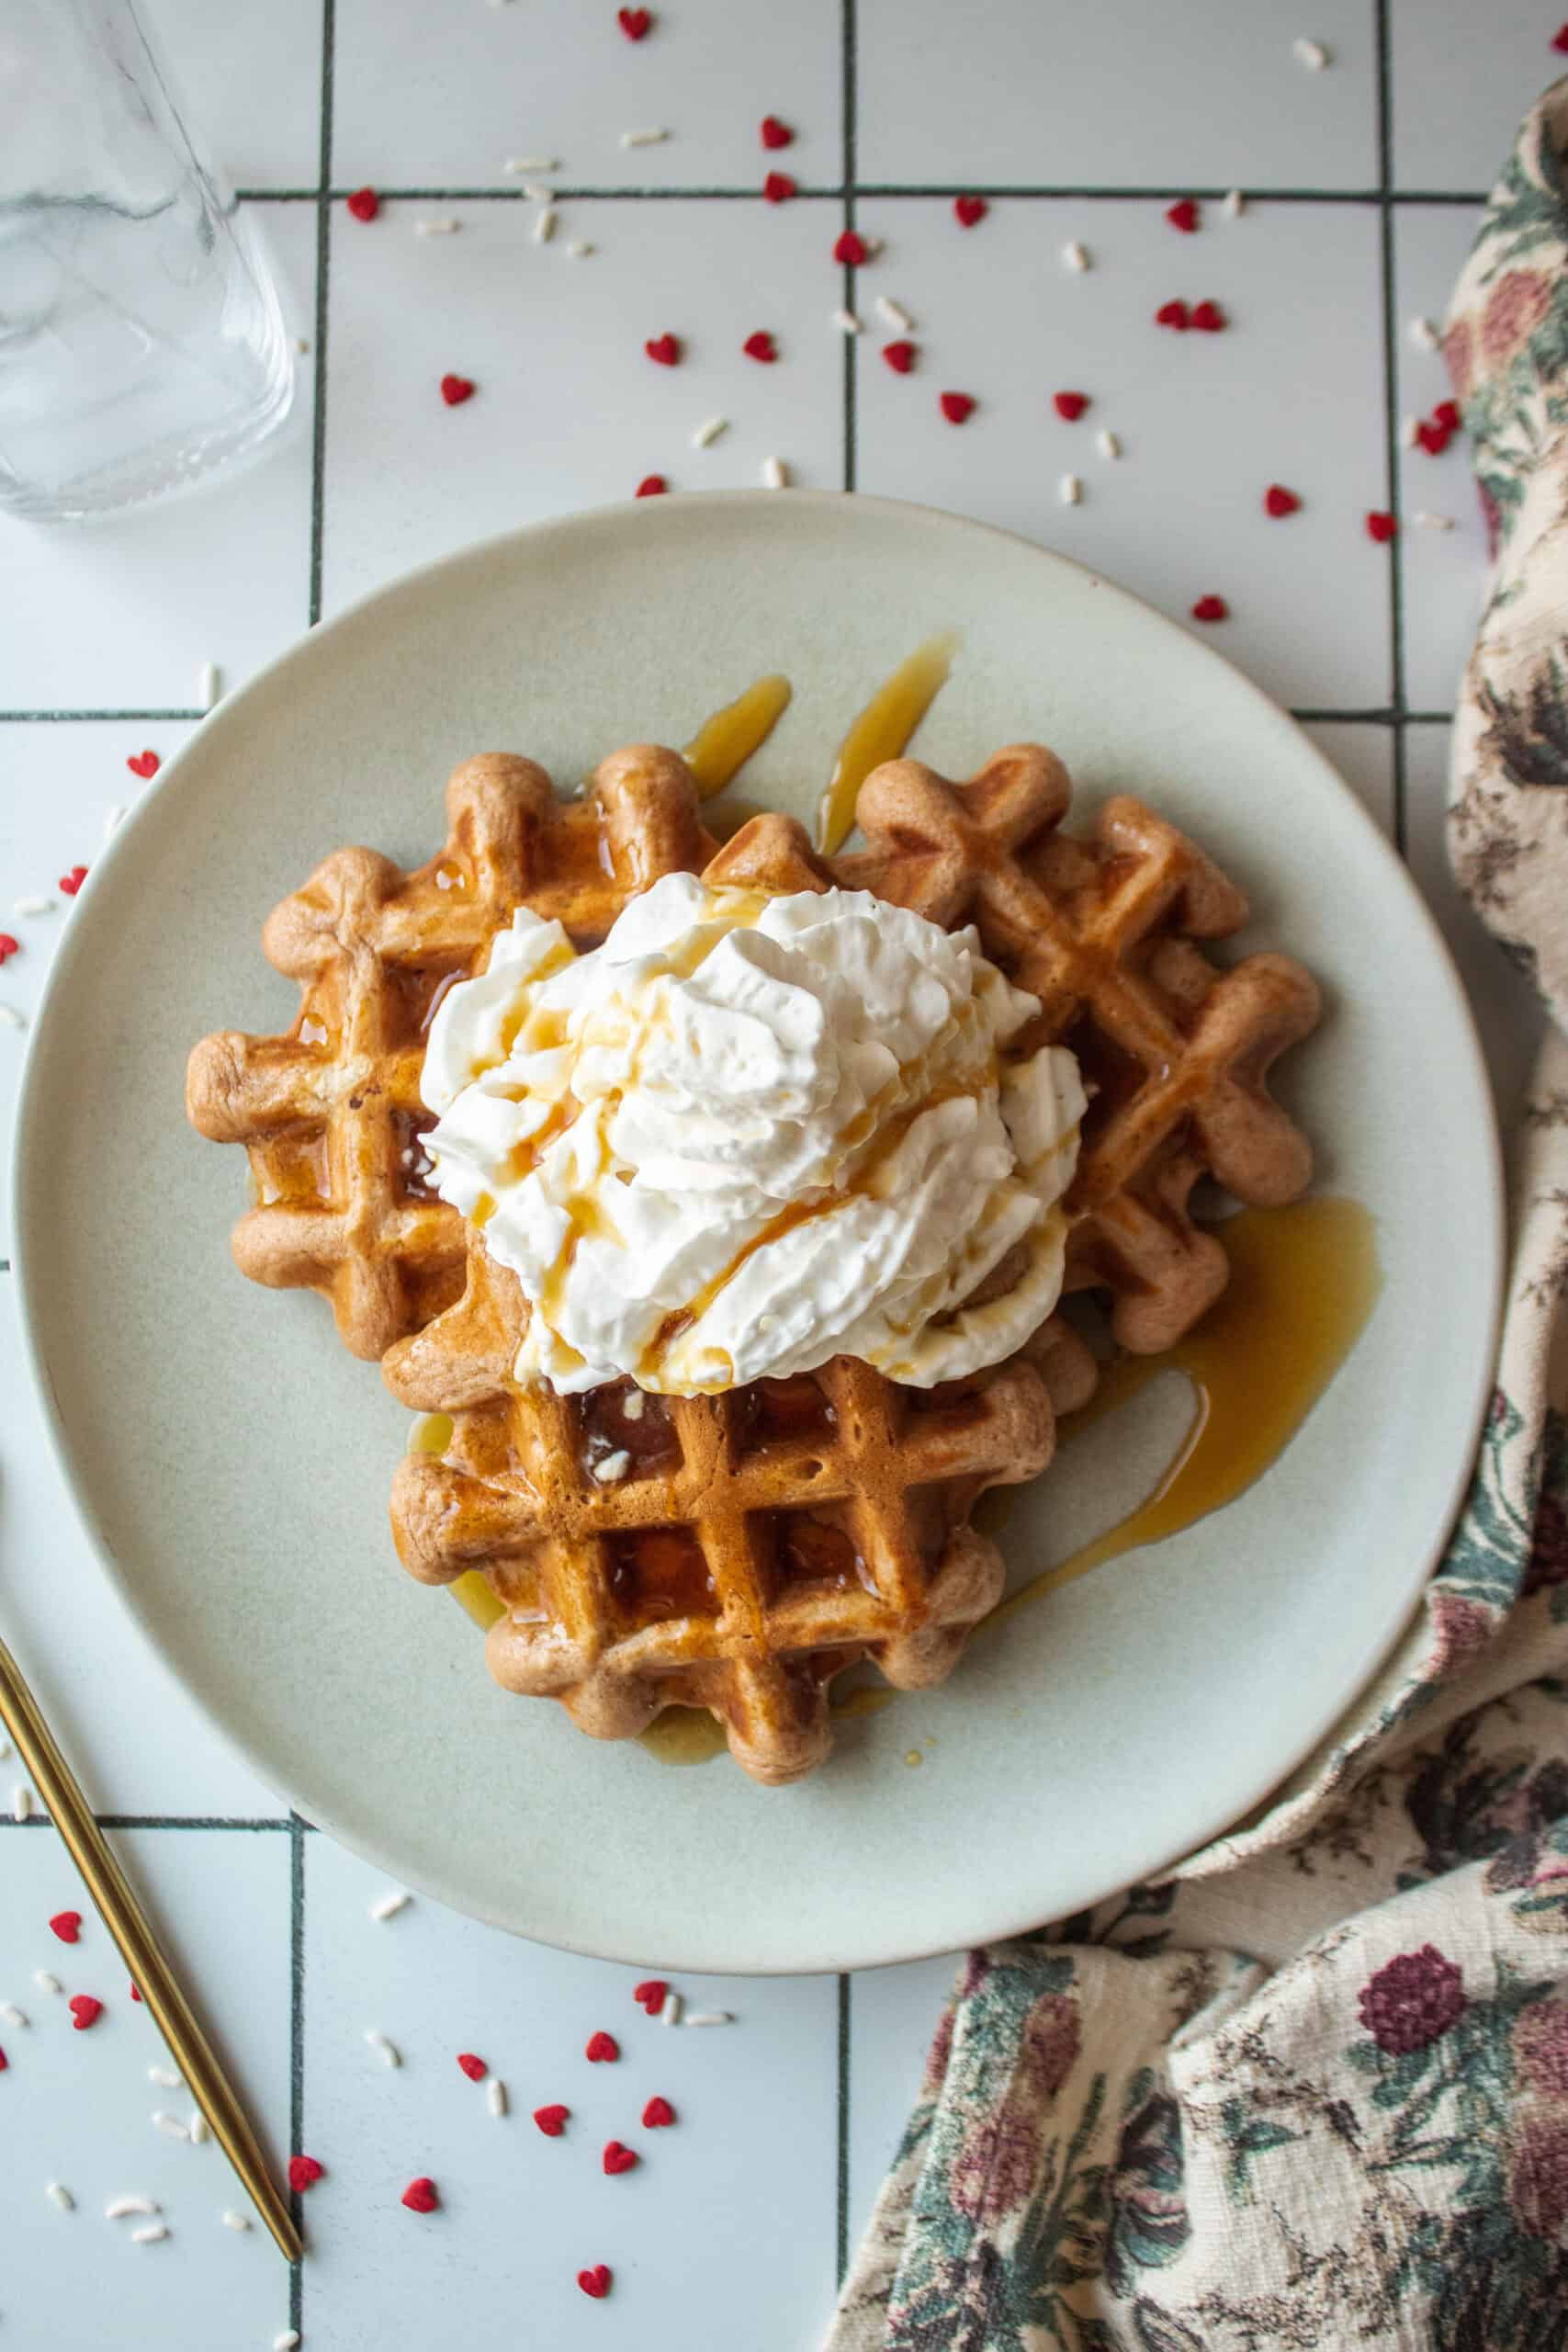
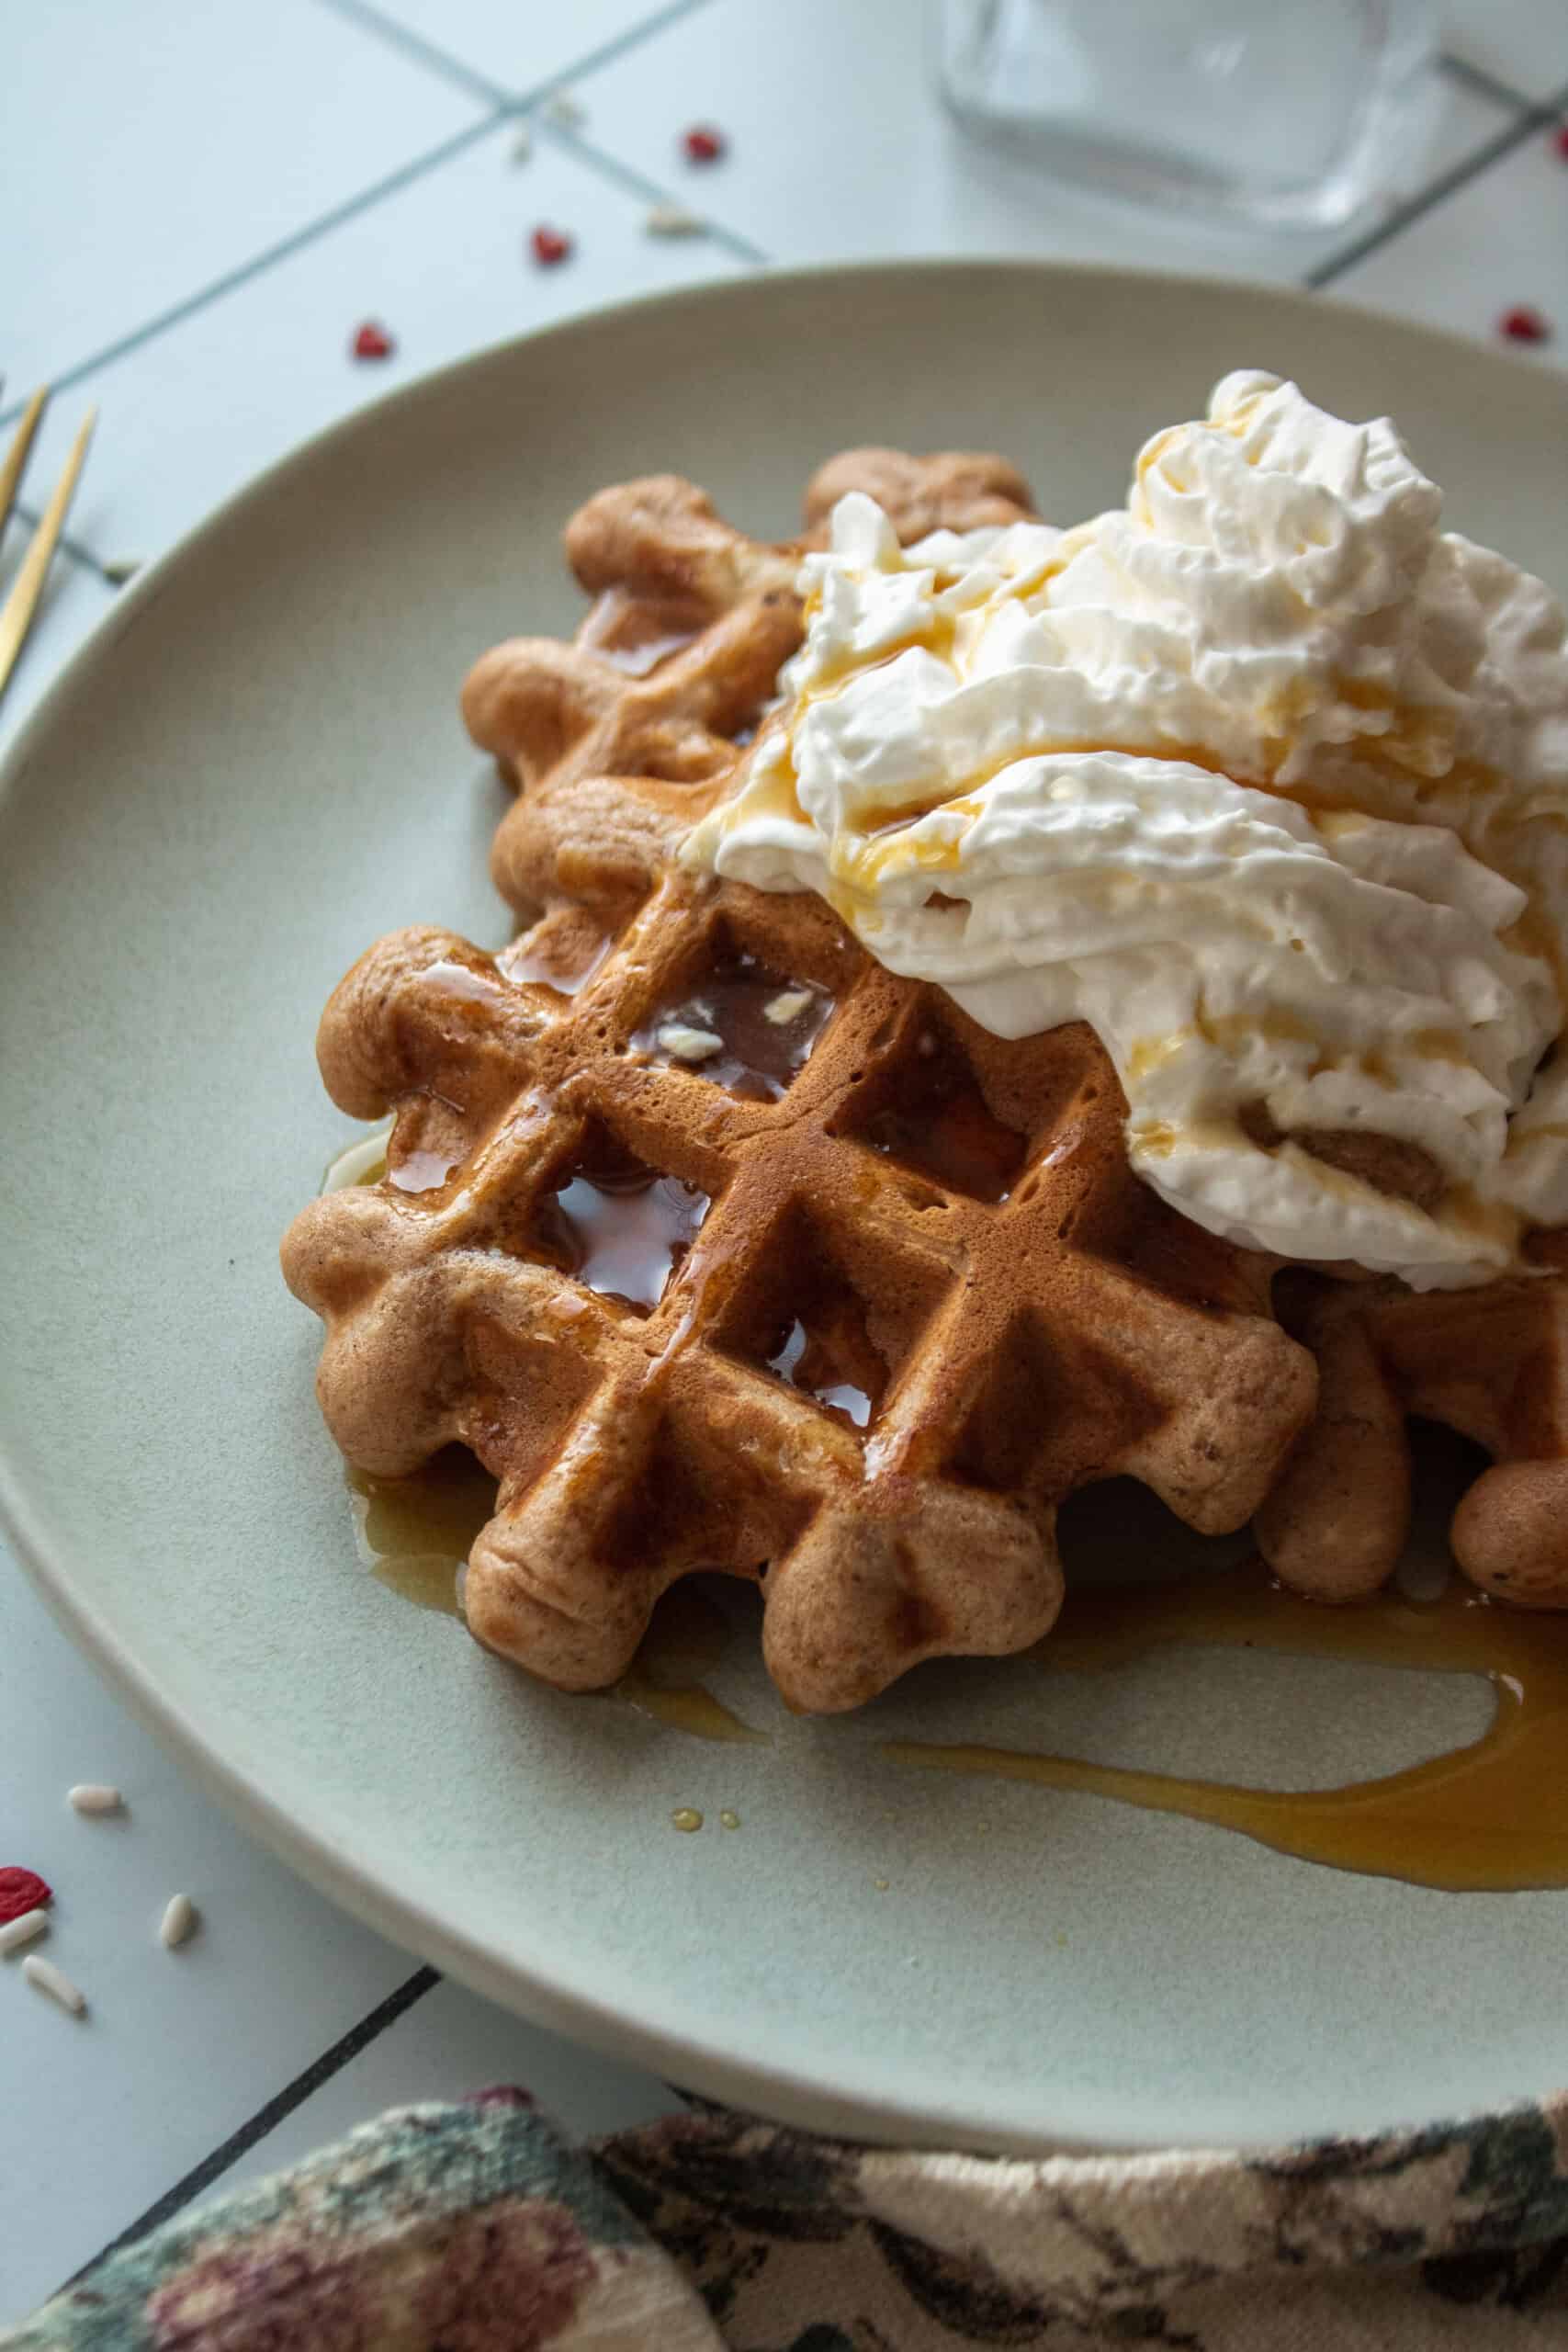
- 💖 Why You'll Love: These buttermilk waffles are the best of both worlds: chocolatey with a touch of vanilla, topped with whipped cream and syrup. Excellent for Valentine's Day, a Sunday brunch in bed, or galentine's breakfast.
- 🍽️ Best Paired With: Whip up these waffles to go along with a lemon poppy seed loaf, a croissant french toast bake with fruit, or a creamy high protein mudslide shake.
Summarize this recipe and save it on
Jump to:
Trusted Tips and Key Reminders
- Do not over-mix - we talked about swapping to a spatula from a whisk, and doing so helps you limit the over-mixing. Over-mixing will overwork the gluten in the recipe, causing a dull, dense texture.
- Use active baking powder - believe it or not, baking powder (and soda) do in fact have a shelf life. Baking powder, if mixed with boiling hot water, should foam. If it does, it's good to use! If not, it's "dead" and needs replacing.
- Let the batter sit - giving the batter time to sit actually helps with the fluff factor. It allows all the rising agents and other ingredients marry together before being used.
The Main Ingredients
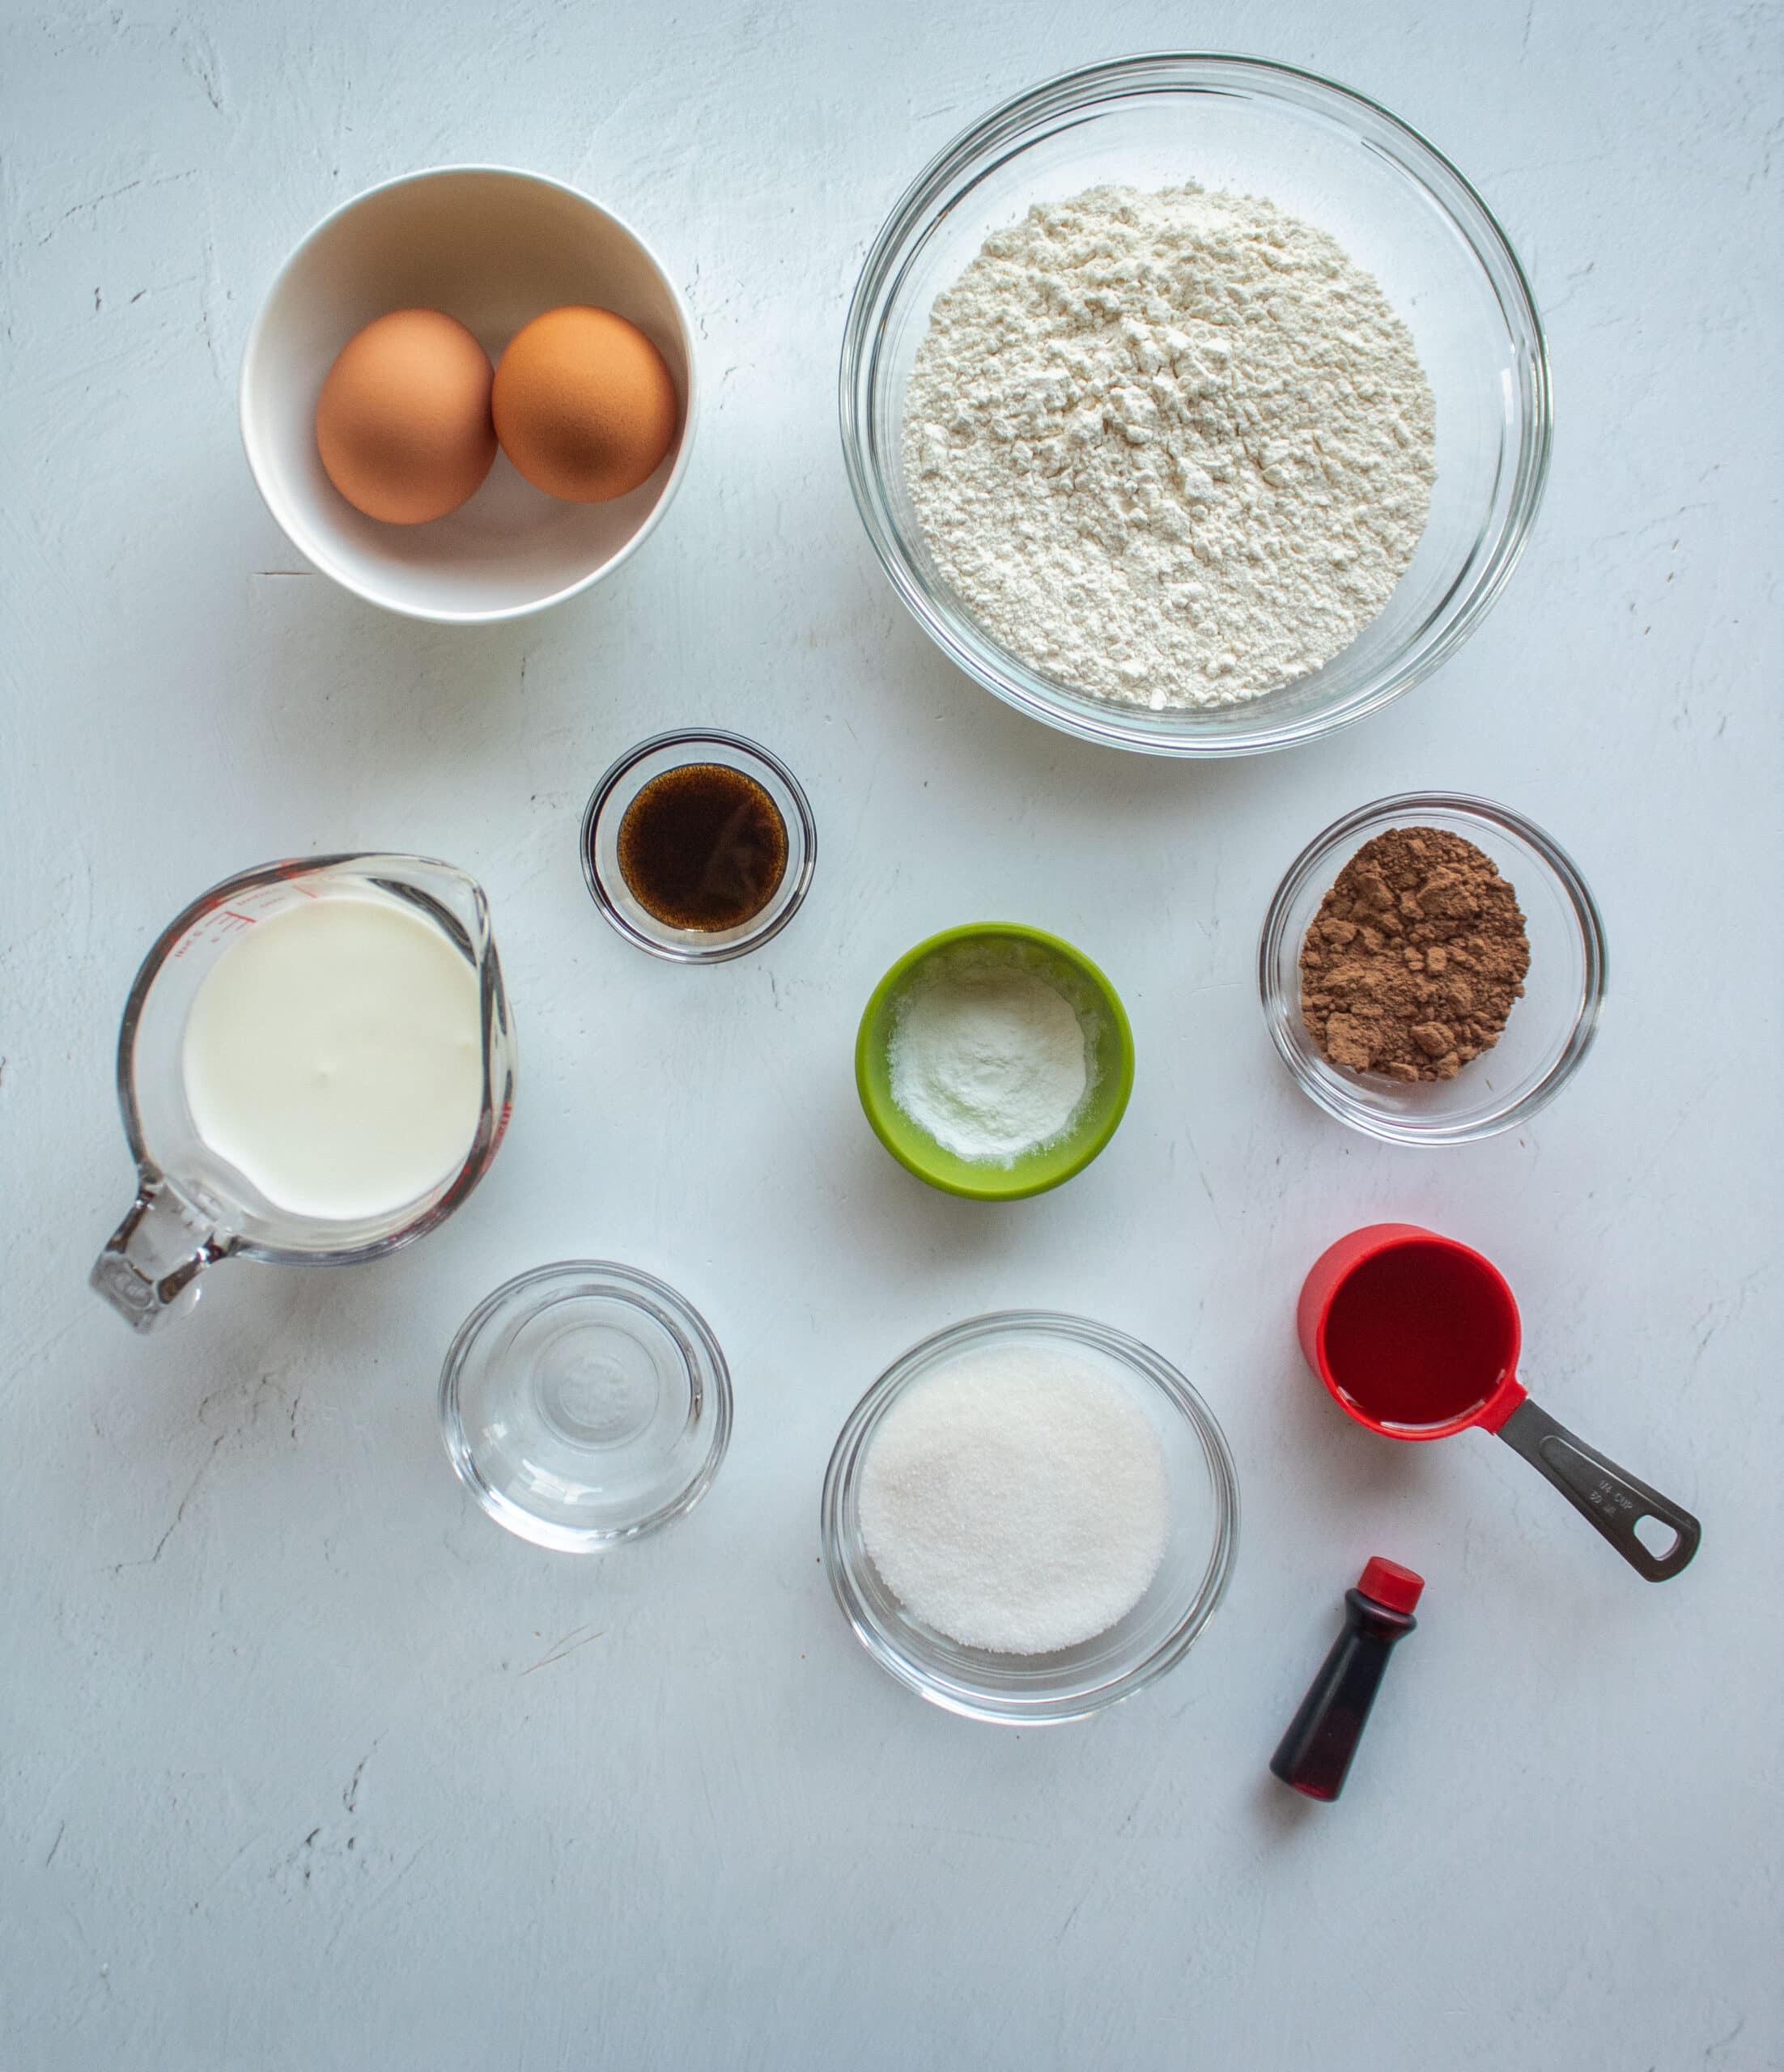
- Eggs, oil, and sugar - Eggs provide structure, sugar adds sweetness and helps with browning, and oil keeps the waffles tender instead of dry. Whisking these together first helps incorporate air, which sets the stage for light, fluffy waffles.
- Buttermilk - One of the most important ingredients in any "velvet" recipe. Its acidity tenderizes the batter and reacts with the leavening to create that signature soft, delicate crumb red velvet is known for. It also adds a subtle tang that balances the cocoa.
- White vinegar - Vinegar boosts the acidity of the batter, enhancing the red velvet flavor profile and helping activate the leavening for extra lift without making the waffles taste sour.
- Cocoa powder - Cocoa gives red velvet its signature depth without overpowering the waffle. It adds richness and color while letting the tangy, buttery flavors still shine.
- All-purpose flour - All-purpose flour provides just enough structure to hold the waffles together while still keeping them soft on the inside and crisp on the outside.
- Baking powder - Baking powder helps the batter rise as it cooks, creating waffles that are airy, light, and not at all dense.
Be sure to check out the recipe card at the end of this post for more information about quantities, measurements, and specific cooking instructions.
Recipe Swaps and Substitutions
- Gluten free flour: this won't really change the bake time, but it will alter the taste and texture. I swear by Bob's Red Mill Gluten-Free All Purpose Flour, which you can find on Thrive Market or in a variety of other stores.
- Milk: if you want to make this dairy free, swap out the regular milk for almond or oat milk. The ONLY issue here is that the buttermilk is a big part of the "red velvet" flavor, so if you can find dairy free buttermilk then go for it!
- Sugar: If you would prefer to use coconut sugar you can definitely do so but it may change the taste slightly.
How to make cocoa buttermilk (red velvet) waffles
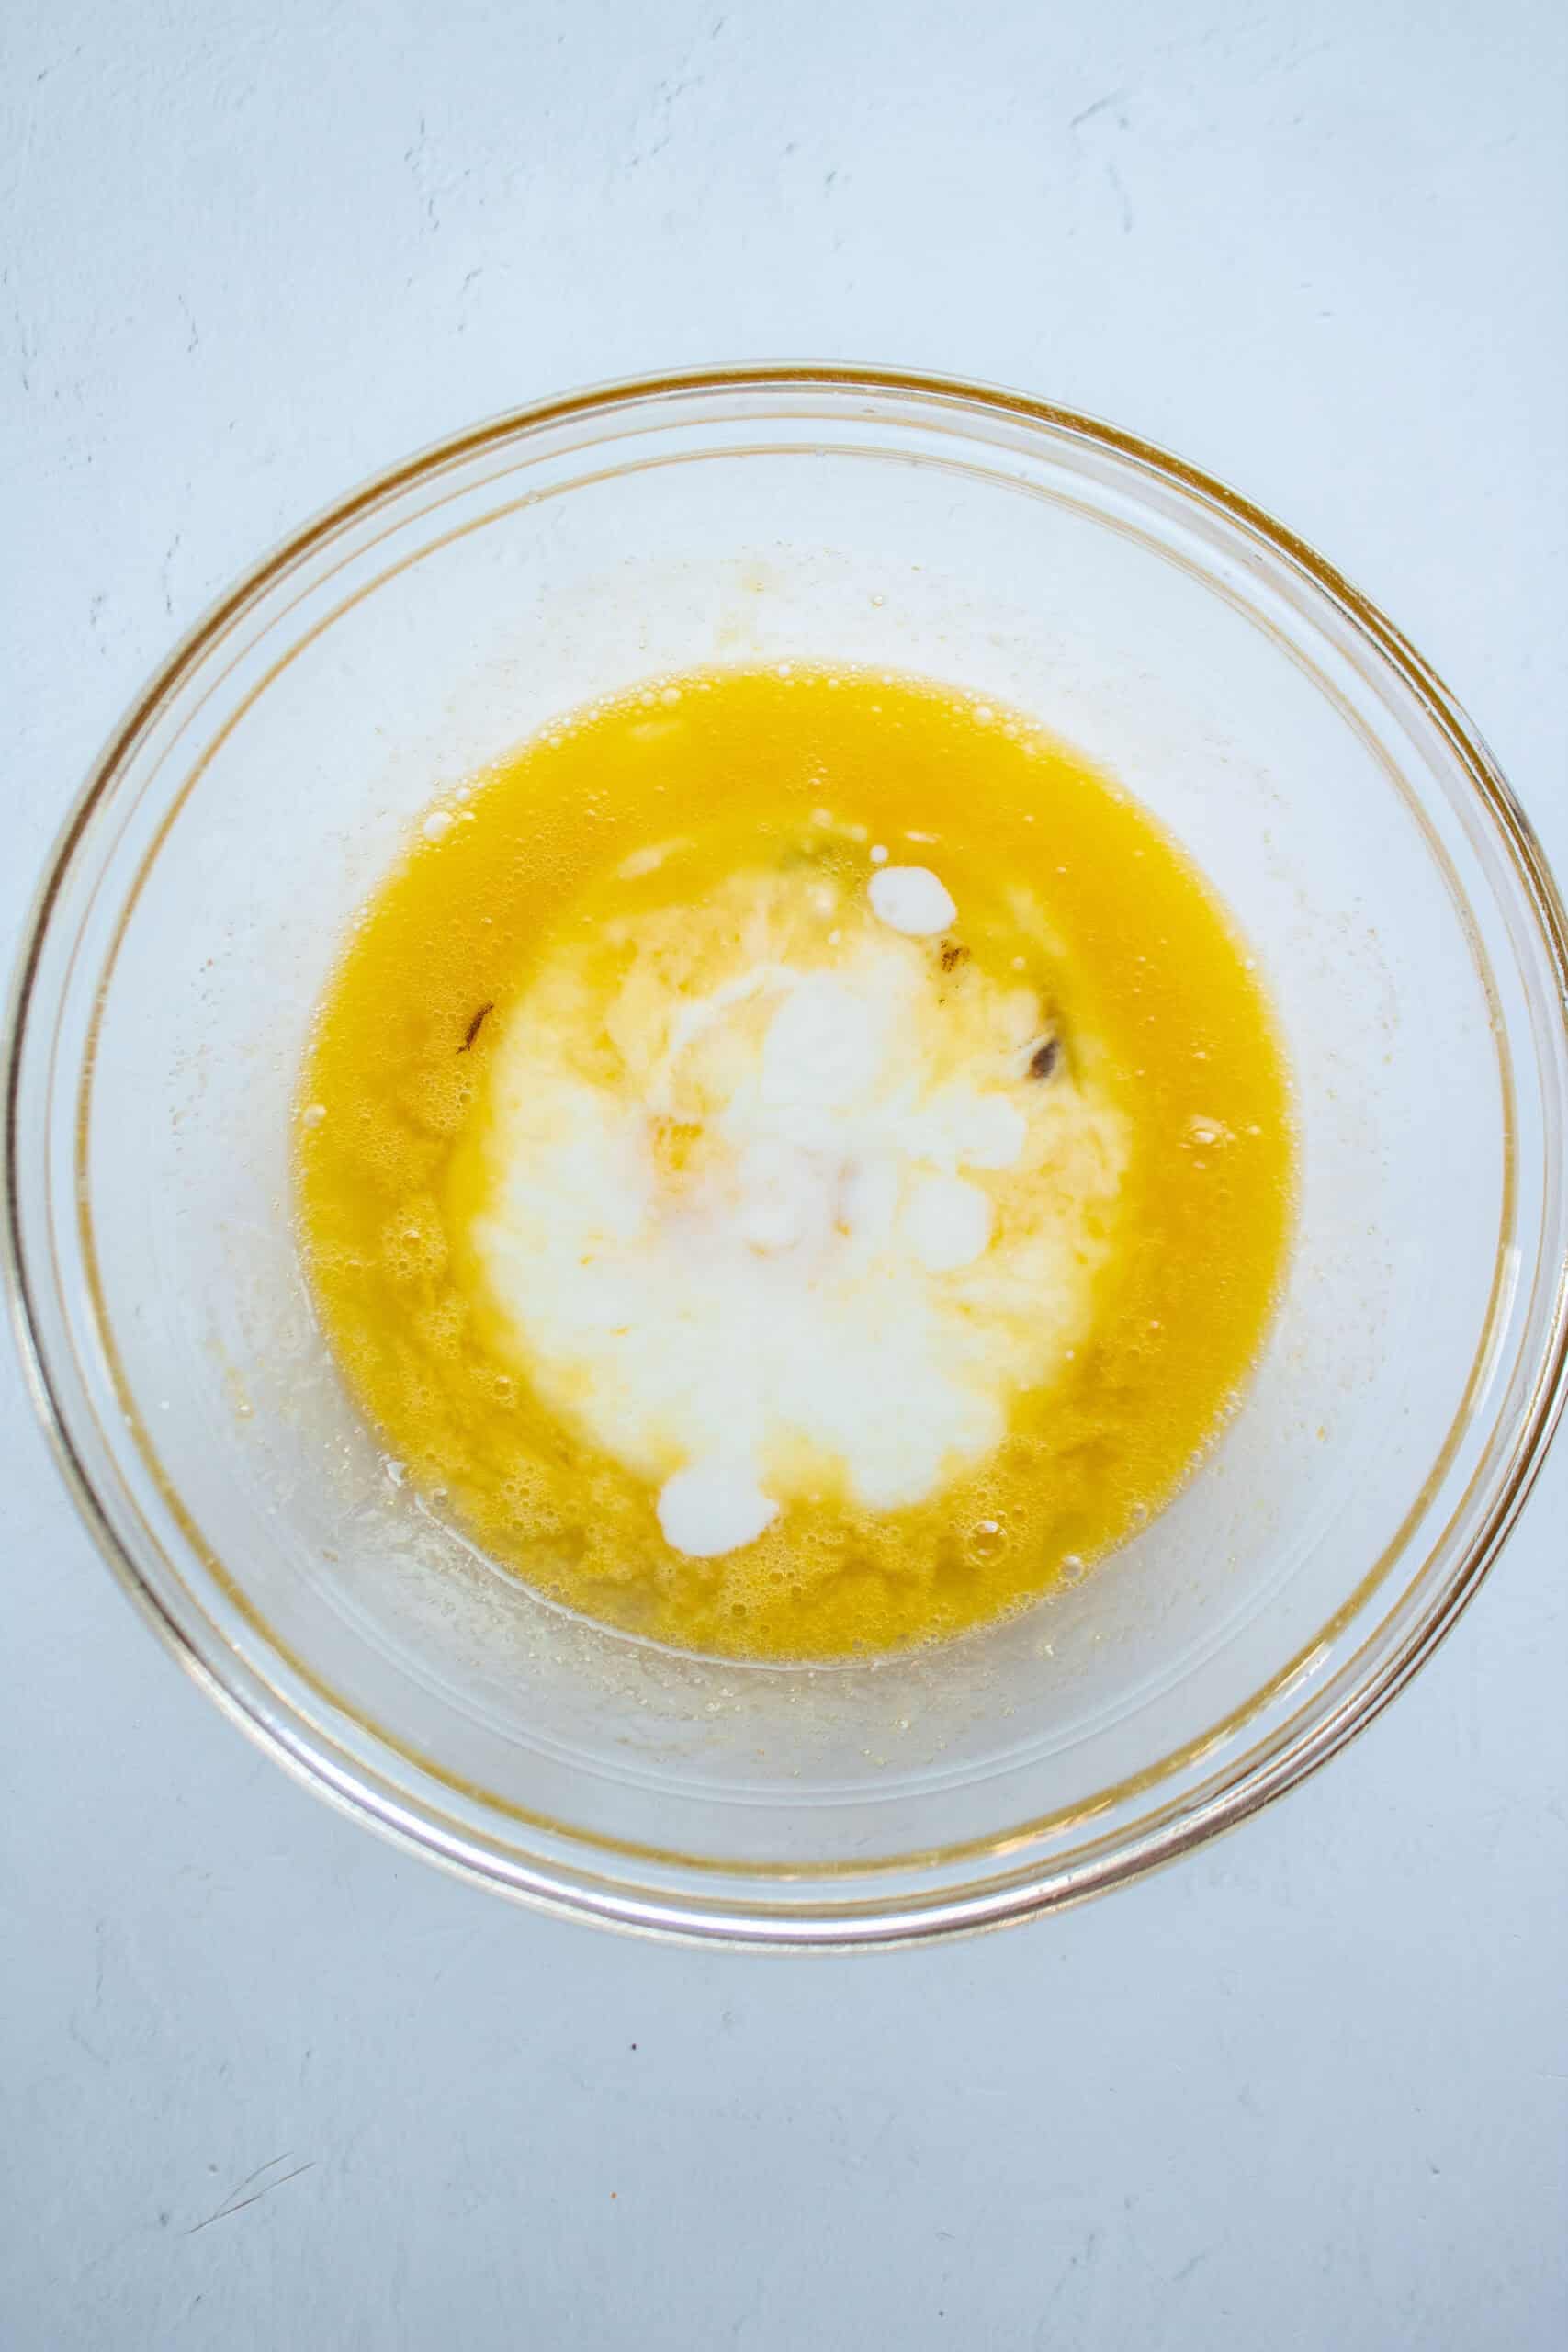
Step 1: Start by whisking together the eggs, oil, and sugar until fully the oil and sugar are completely combined. To the egg mixture, pour in the vanilla, vinegar, and buttermilk then whisk again.
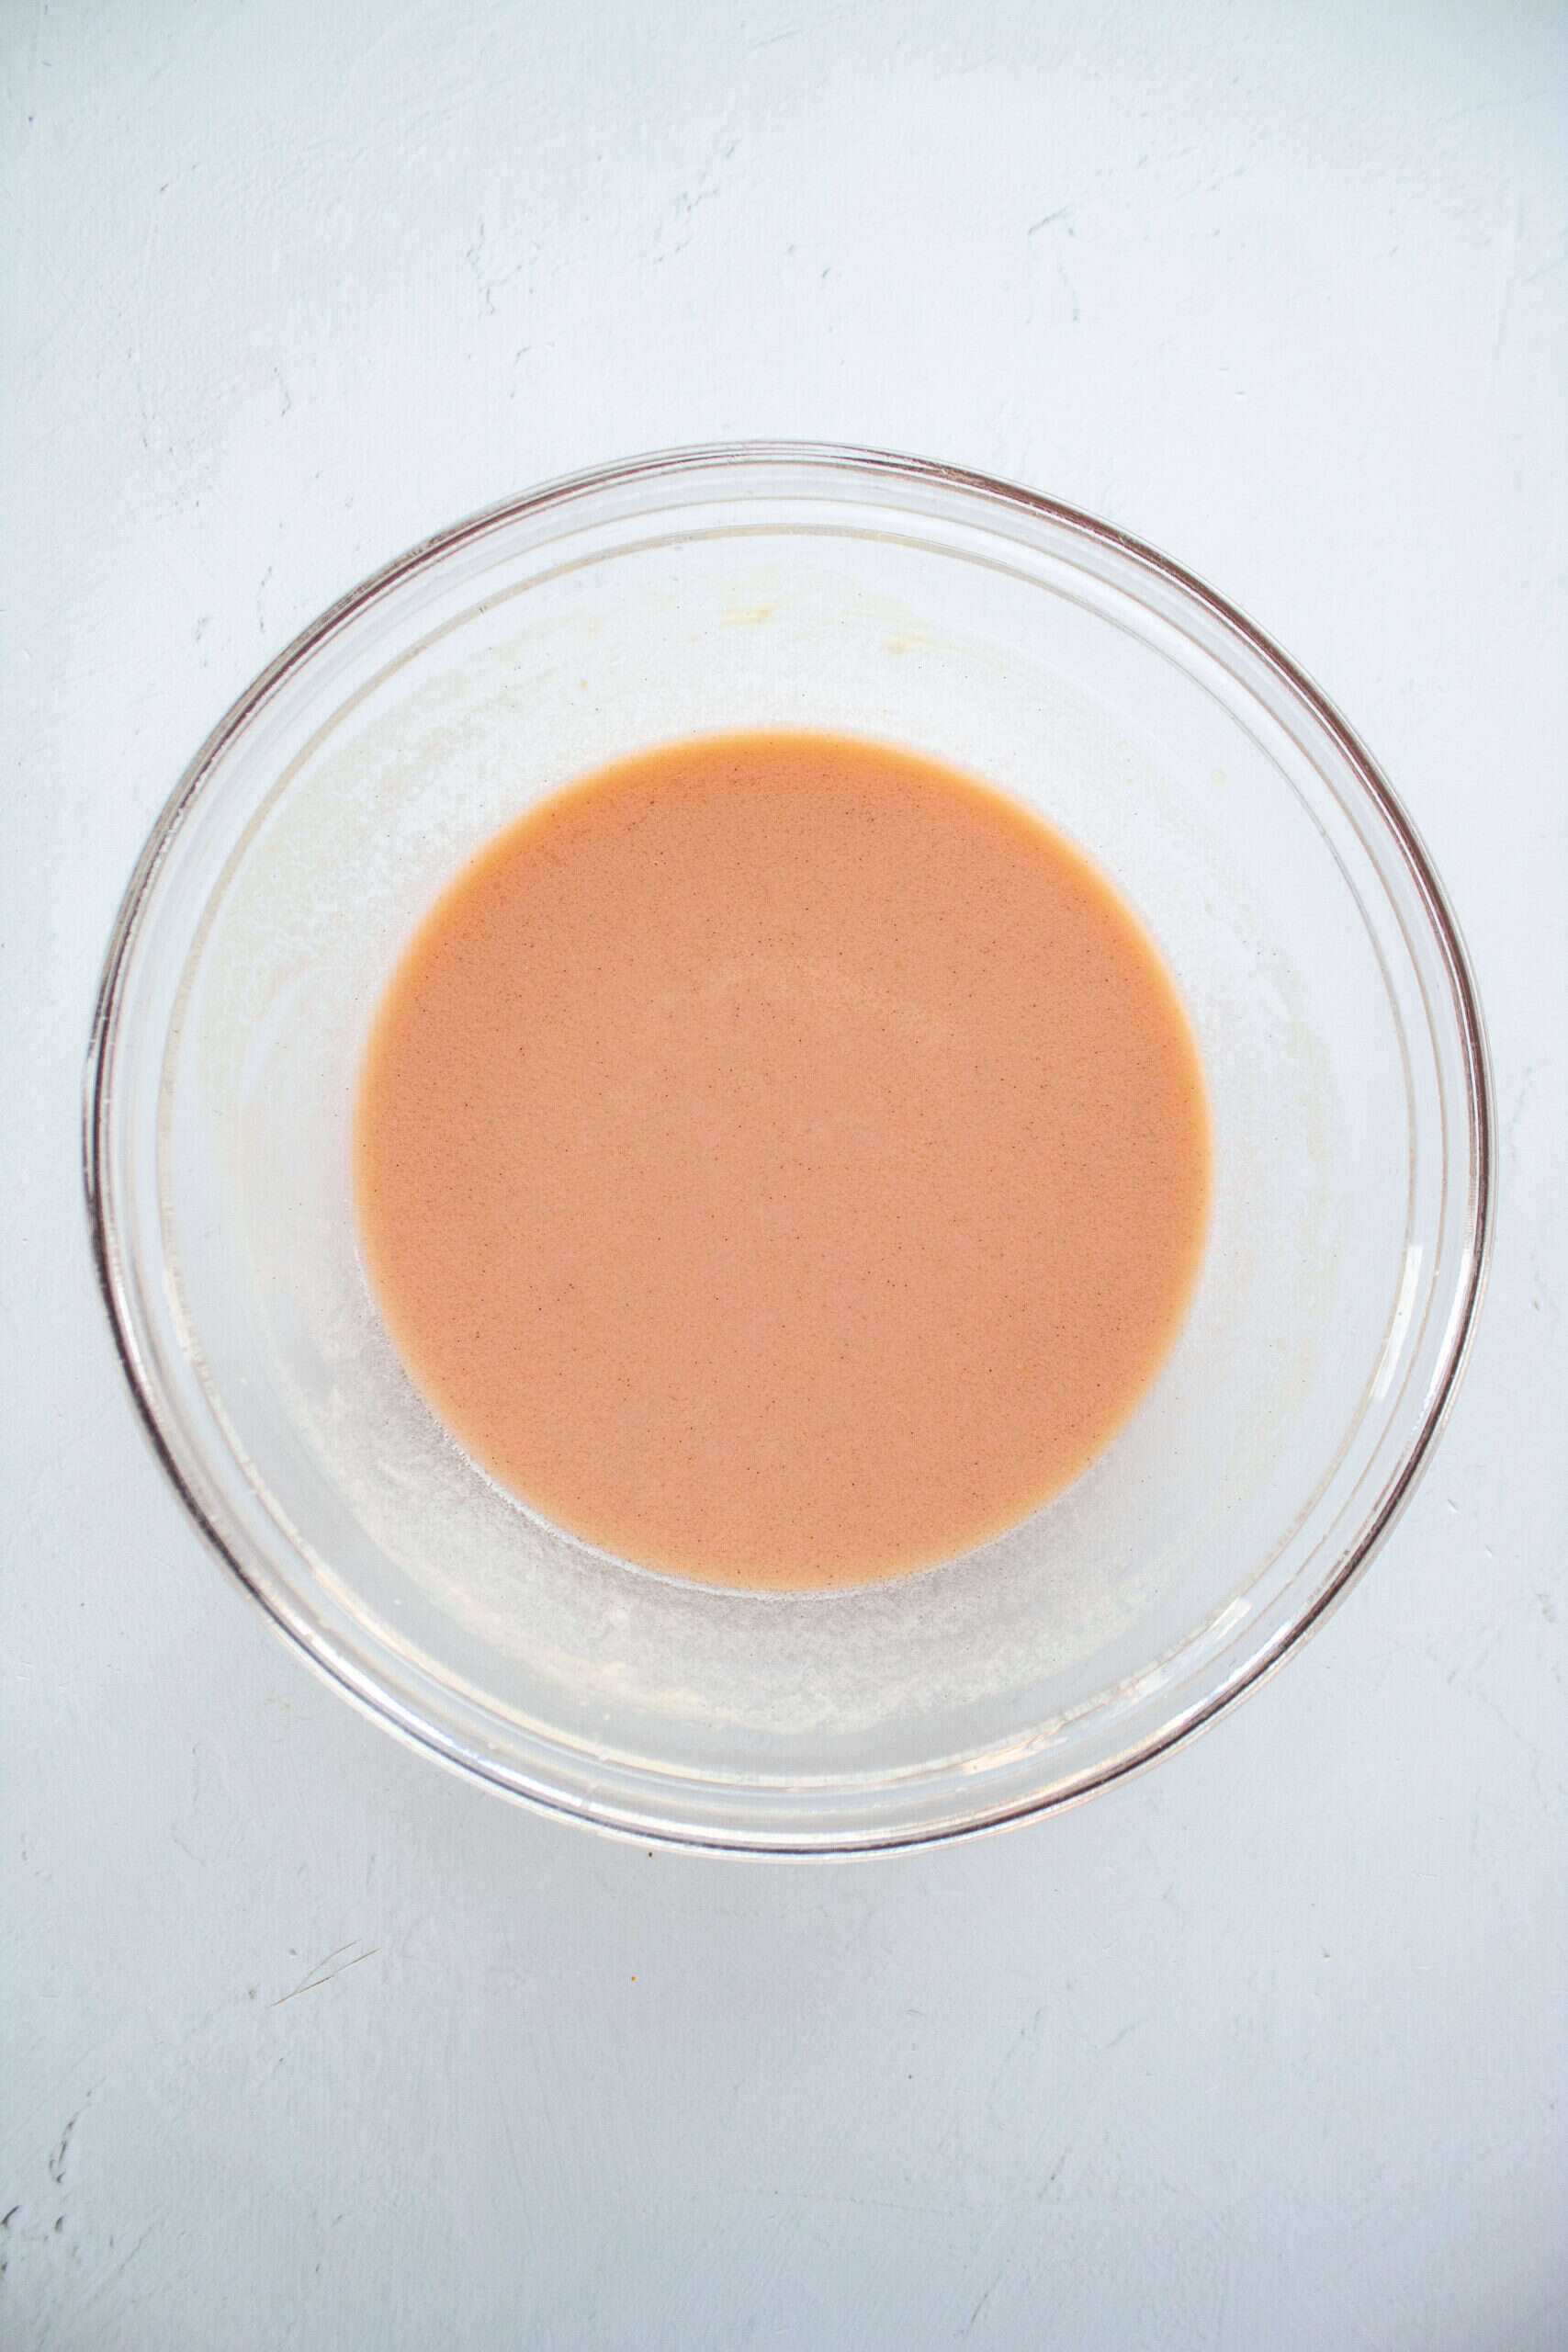
Step 2: Add in several drops of red coloring and whisk until the batter becomes a pale pink or mauve color. This is also entirely optional, but to give it a gentle reddish/brown hue, we use the red food coloring.

Step 3: To the same bowl, add in the flour, baking powder, cocoa powder and whisk until just combined.
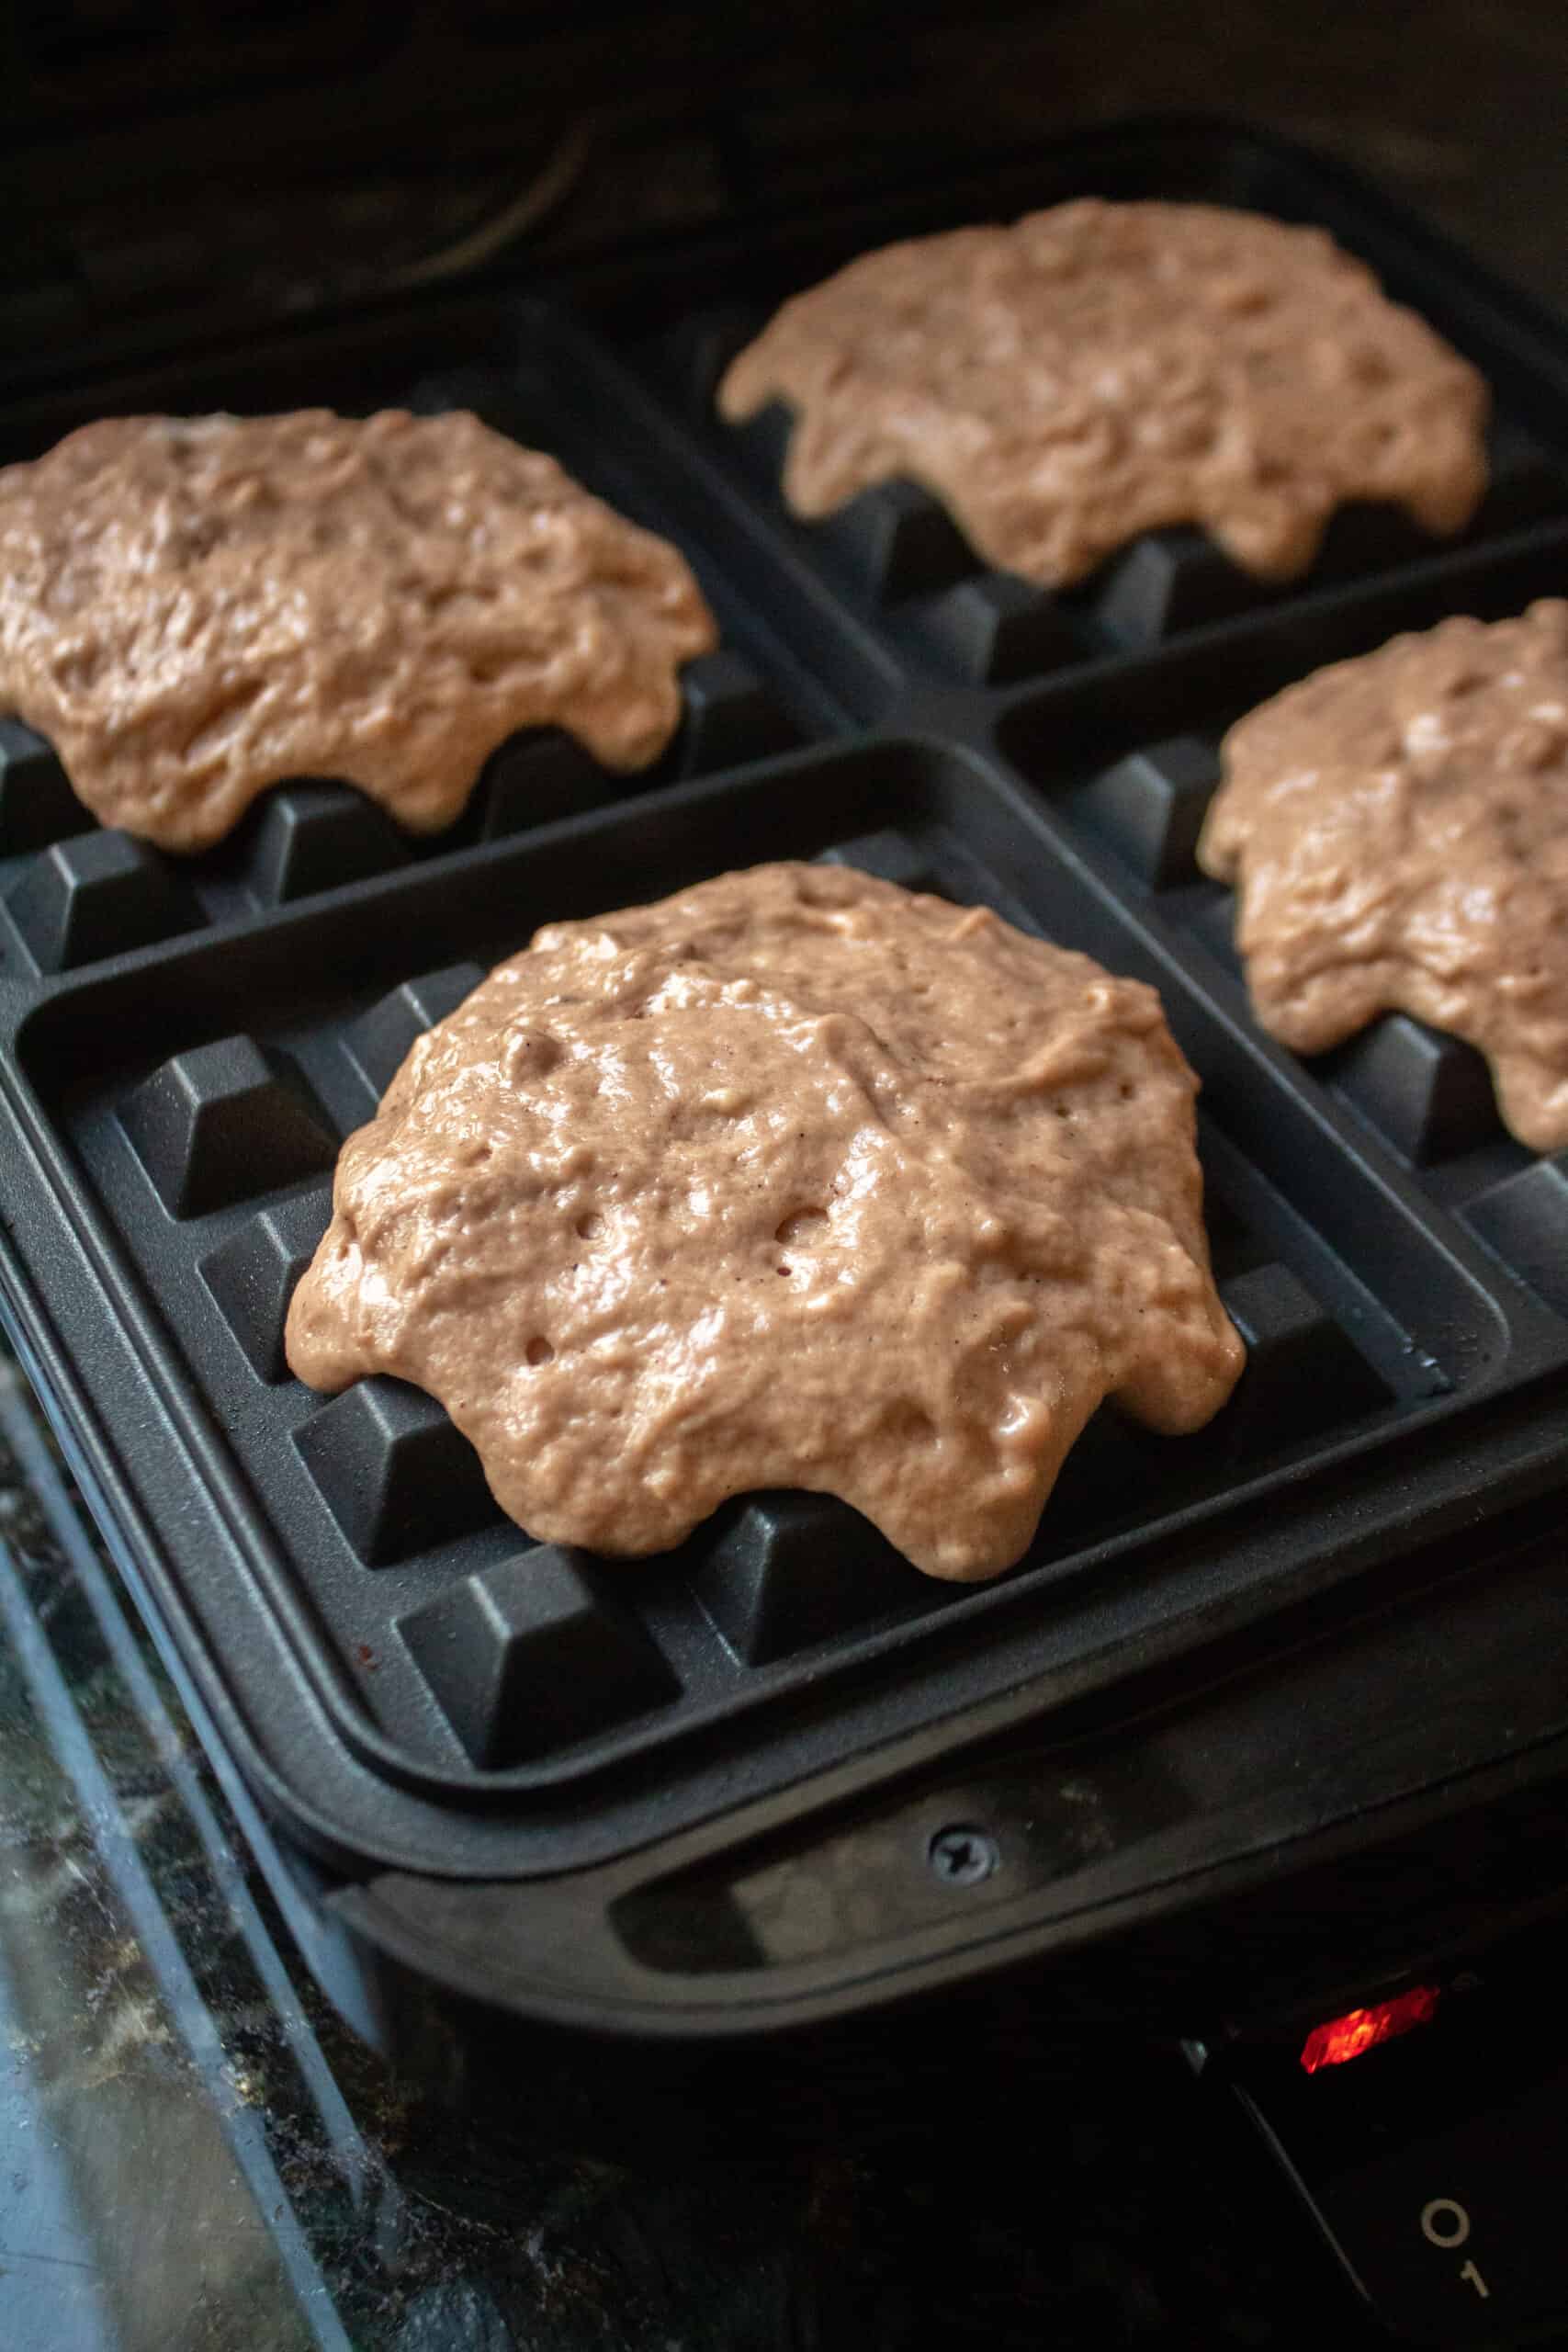
Step 4: Ladle a half scoop into a pre-heated waffle iron, cooking until the waffle iron indicates done, or for 2 minutes. Repeat until all batter is used and top with whipped cream and syrup.
Red Velvet Cocoa Buttermilk Waffles FAQs
Add any remaining leftover waffles to an airtight container and place in the fridge for up to five days. After that, you can throw them into a plastic food storage bag (labeled with date made), and toss in the freezer. These will last for up to 2-3 months.
yes, add the waffle to a toaster and reheat until desired crispness. Alternatively, you could also microwave for 1 minute.
Find a really good red food coloring or use enough red food dye to turn the batter a deep red. Beet powder also works here too.
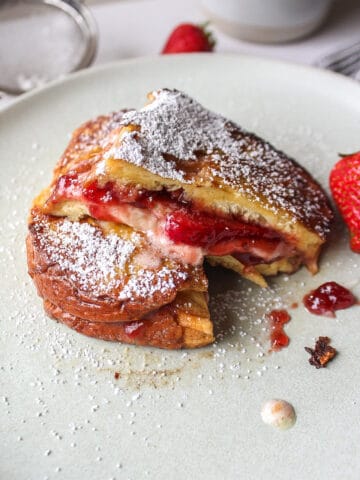
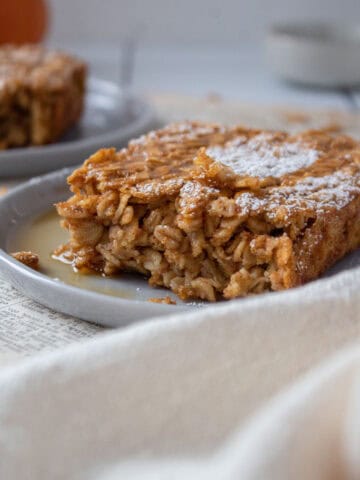
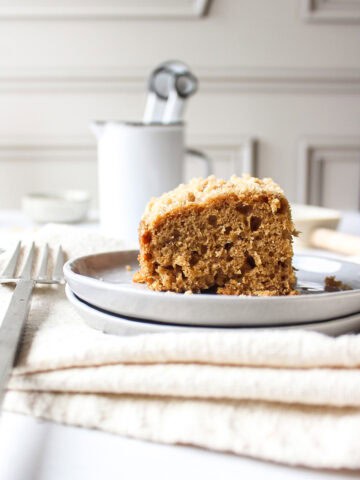
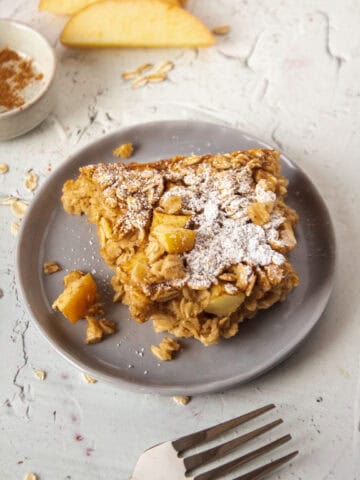
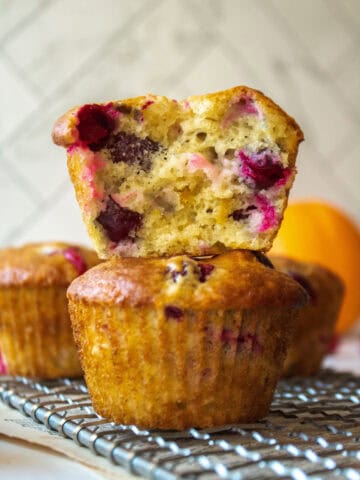
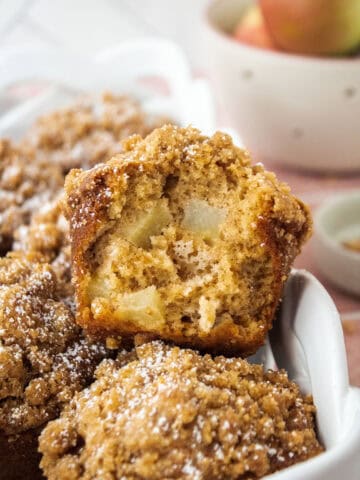
Check out these other delicious breakfast recipes:

Did you love this recipe? ⭐️⭐️⭐️⭐️⭐️ If you're just as in love with this recipe as I am, please share a comment below and rate it! Better yet, share this recipe with family and friends!! Thank you!

Cocoa Buttermilk (Red Velvet) Waffles
Equipment
- 1 waffle iron
- 1 large mixing bowl
- 1 kitchen scale optional
- measuring spoons and cups
- 1 whisk
- 1 spatula
Ingredients
- 192 grams all purpose flour 1 ½ cups
- 1 teaspoon baking powder
- 1 teaspoon cocoa powder
- ¾ cup buttermilk
- 1 tablespoon vinegar
- 2 large eggs room temperature
- ¼ cup oil
- 2 teaspoon sugar
- 1 tablespoon vanilla extract
- 5 drops pink or red food coloring
Instructions
- Whisk together the eggs, oil, and sugar until fully combined. Pour in the vanilla and vinegar, and whisk again.
- To the same bowl, pour in the buttermilk and whisk until incorporated and the mix is a pale yellow.
- Add the drops of pink coloring and whisk until the batter becomes a barbie pink. To the bowl, add in the flour, baking powder, cocoa powder and whisk until just combined.
- Prep a waffle iron by heating and greasing with nonstick spray. Ladle a half scoop into a pre-heated waffle iron, cook until the waffle indicator light comes on, or cook for two minutes.
- Repeat until all batter is used and top with syrup and/or whipped cream.
Leave a Reply