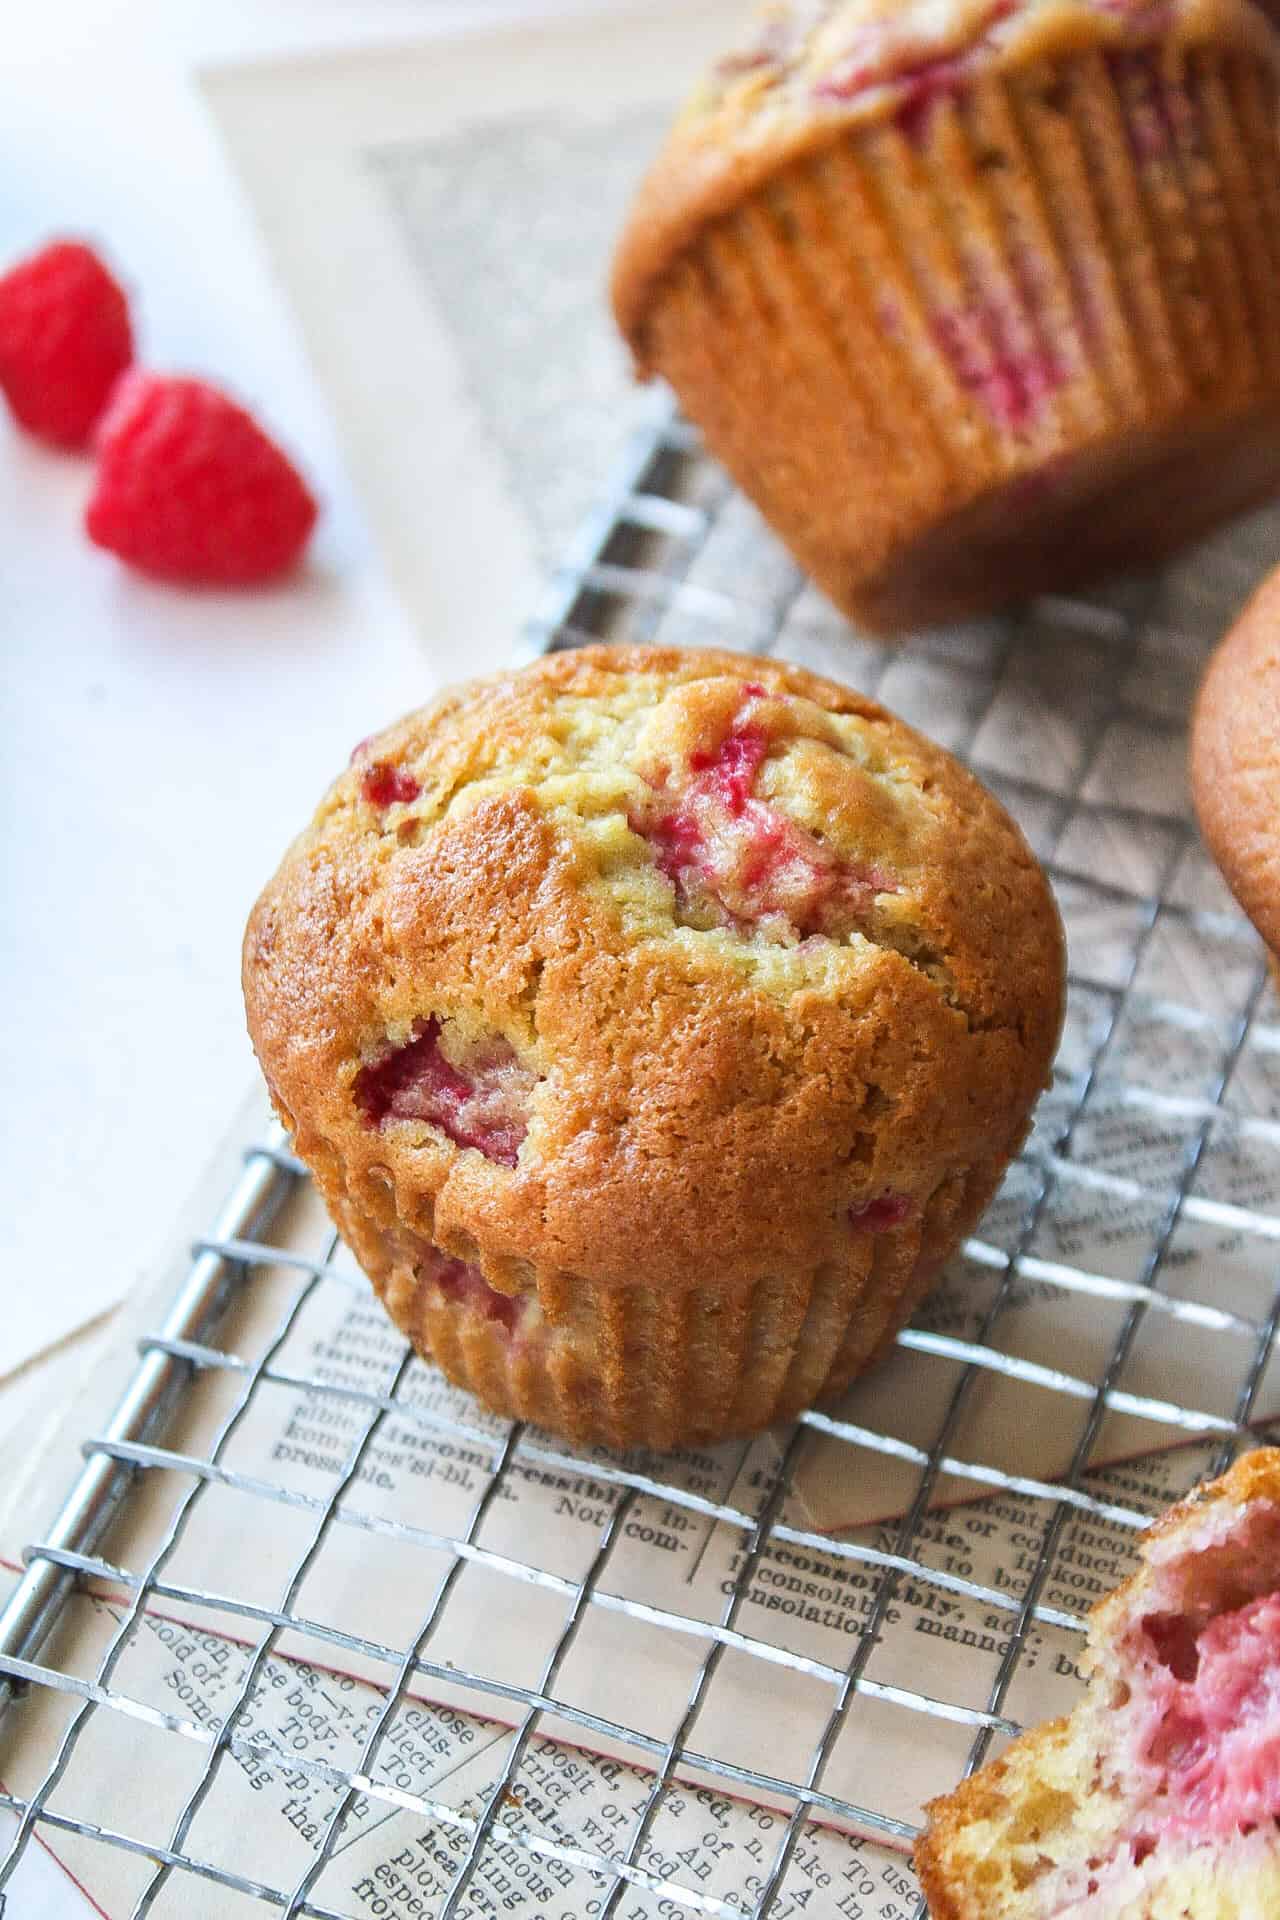
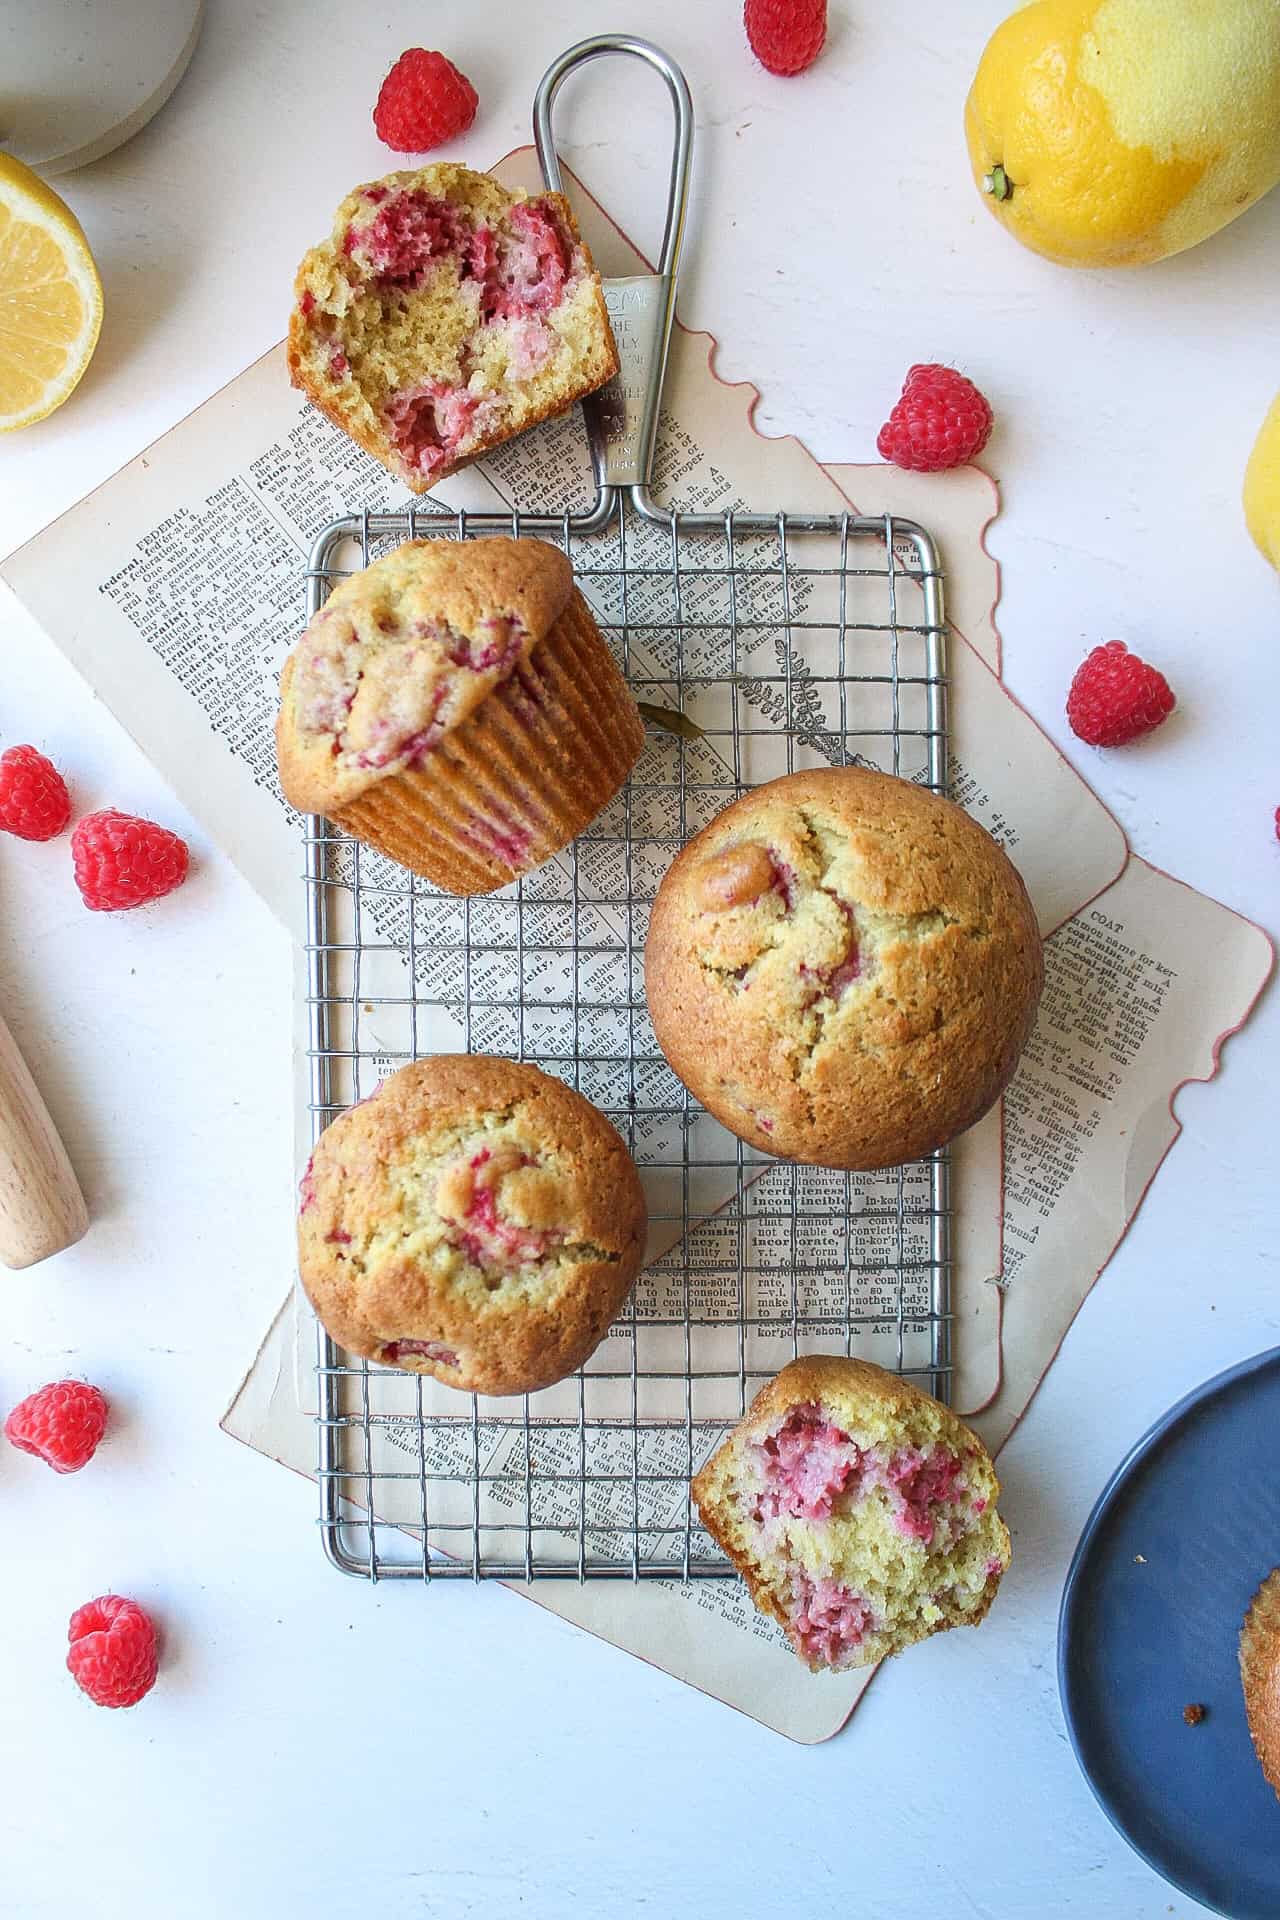
Who can resist a muffin that's packed with citrus flavor? I know I can't. We've already got some lemony hits like lemon blueberry muffins and a stack of lemon poppy seed pancakes, but I wanted something that screams spring. Enter: these lemon raspberry muffins.
This is one of those muffin recipes that is great for a variety of reasons. You can make them for breakfast, brunch, grab and go breakfast, gatherings, and so much more. Need freezer breakfasts? Done. Have leftover overripe raspberries? Perfecto.
TL; DR Summary - Lemon Raspberry Muffins
- 👩🏼🍳 Bake Level: Easy/Beginner
- ⏱️ Bake Time: 22-23 minutes
- 📖 Dietary Info: Gluten, dairy, egg
- 😋 Taste: Zesty, tart, sweet, sour, fluffy
- 💖 Why You'll Love: These raspberry lemon muffins are perfect for a quick and easy breakfast, bringing to a friends house, or storing in the freezer for a rainy day.
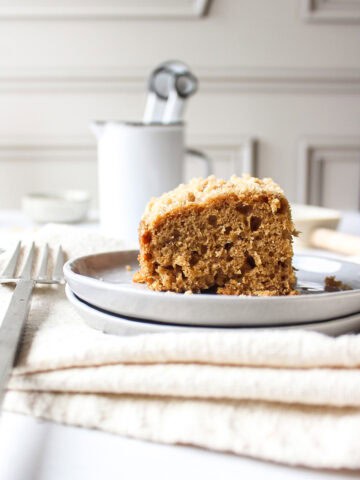
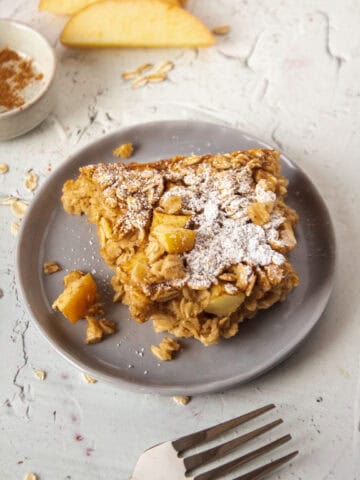
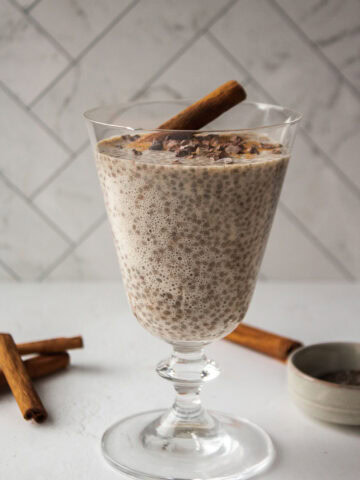
- 🍽️ Best Paired With: You can't go wrong with making these muffins alongside a broccoli cheddar quiche, an apple cinnamon french toast bake, or a loaded breakfast totchos. Skip the extra cooking and whip up a high protein mudslide mocktail instead.
Summarize this recipe blog post and save it on
Jump to:
Trusted Tips and Key Reminders
- Switch from the whisk when mixing the batter to a spatula as you fold in the flour. After trial and error, and lots of revamping and recipe writing, this yields an airy texture and less chewy, as a whisk is intended to whisk volume to the eggs, and over-whisking or mixing can cause the batter to get gummy.
- Let the muffin batter sit on the counter for an extended period of time. When the batter rests, it gives the leavening agents (baking soda, baking powder) to marry and build up so that when the muffins bake, it'll aid with the texture, mouthfeel, and overall rise.
- Leave room in between the muffins in the muffin tin itself. That might mean using more than one muffin tin to bake with. This gives the muffins some room to rise up higher and fluffier when they bake.
- USE A SCALE! I highly recommend investing in a good quality scale. Measuring in grams versus a regular measuring cup yields such different and varying results when you bake. Baking is science, so using a scale will give accurate measurements every single time.
The Main Ingredients
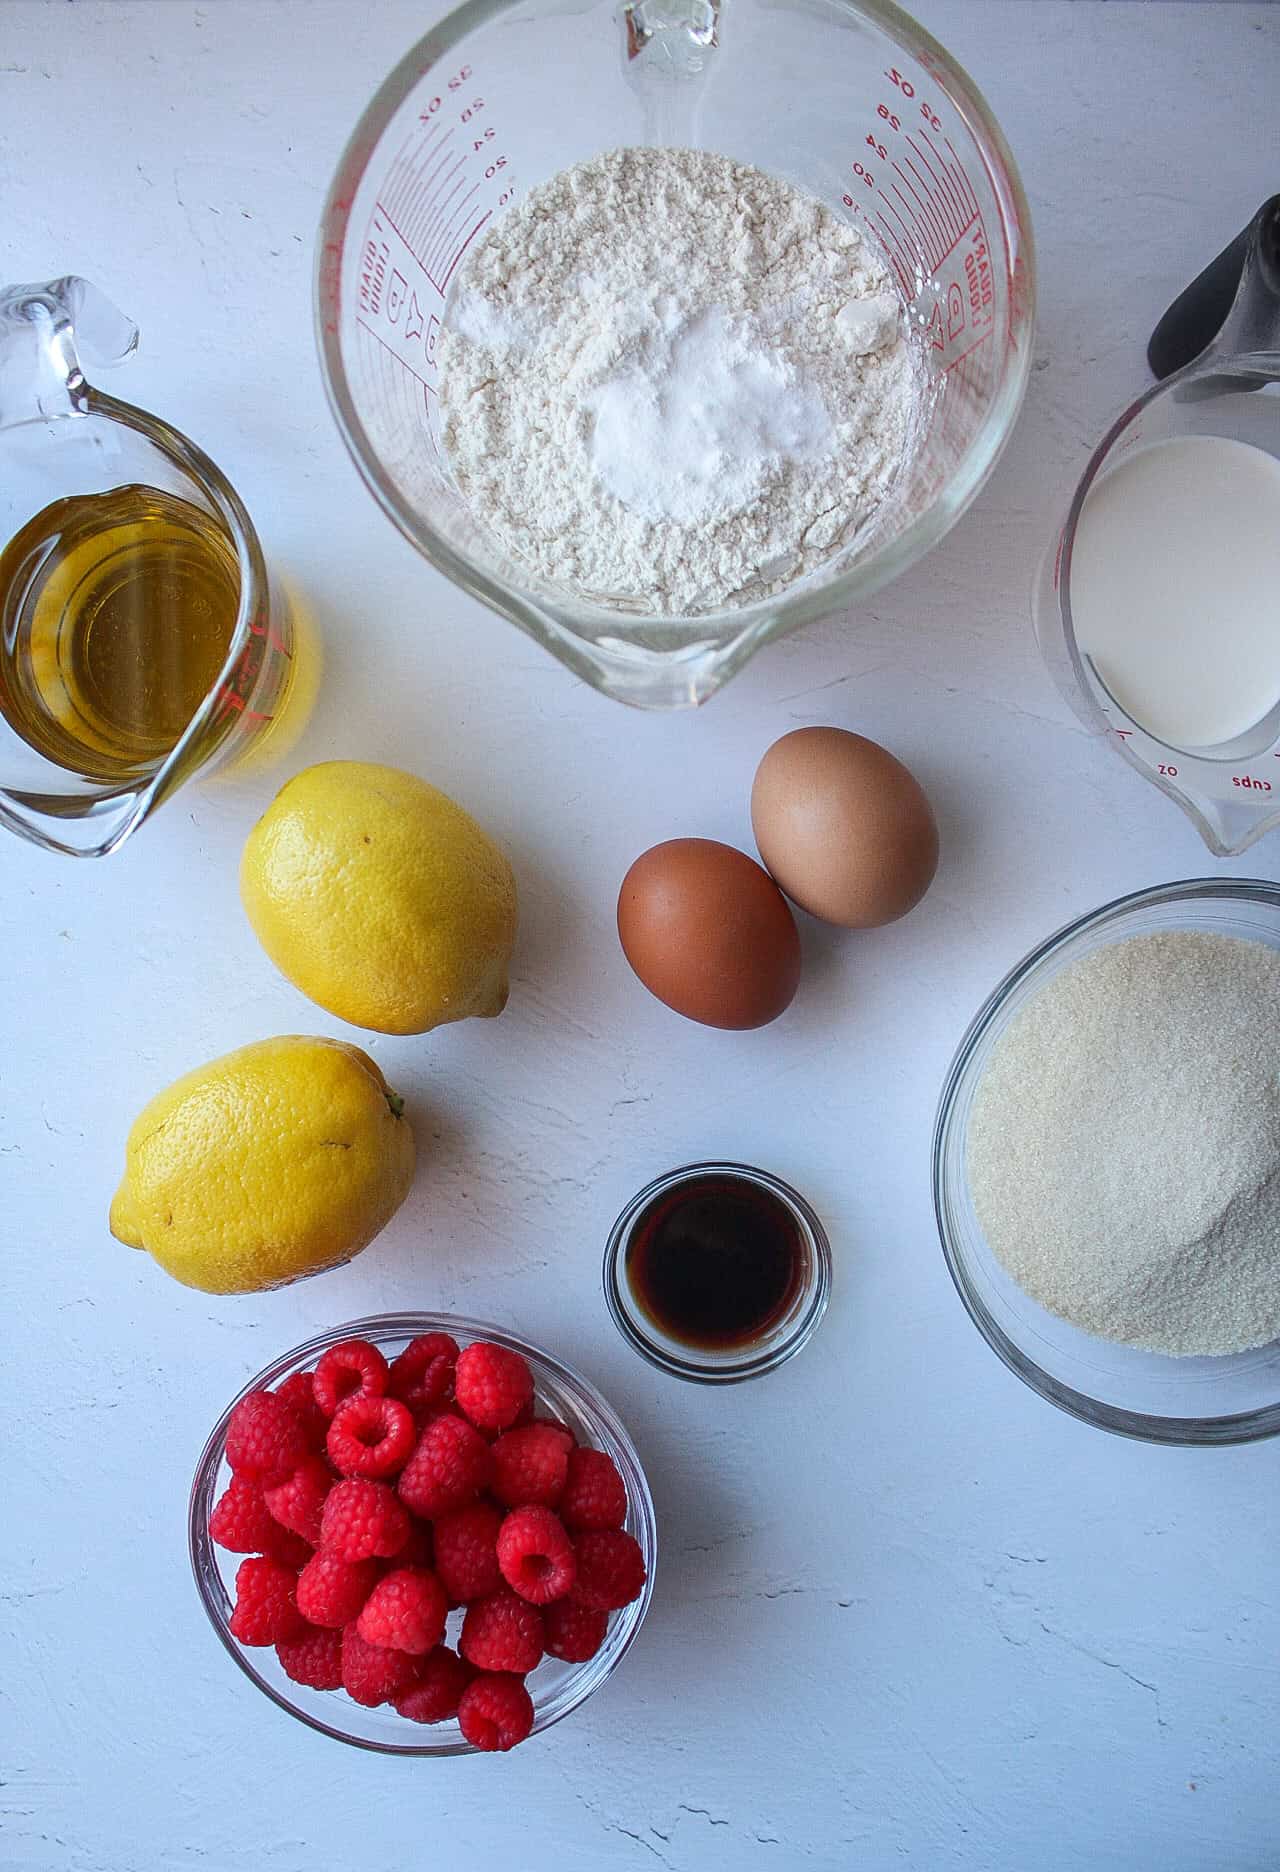
- All purpose flour - the best type of flour that's great for most baking!
- Baking powder + baking soda - a little bit of both helps with the rise and the texture.
- Eggs - we use eggs to bind all of the ingredients together, which also helps with the rise and inner texture of the muffins themselves.
- Cane sugar - added sweetness goes a long way.
- Milk - we use milk to give our muffins texture, taste, and that airy feel.
- Avocado oil - if you don't have avocado oil you can swap for vegetable or olive oil.
- Zest of lemon - zest of lemon gives the muffins more lemon flavor.
- Lemon juice - only fresh squeezed lemon juice here, the pre-made lemon juice will not taste the same
- Chopped fresh raspberries - fresh raspberries are the star of the show!
Be sure to check out the recipe card at the end of this post for more information about quantities, measurements, and specific cooking instructions.
Muffin Swaps and Substitutions
- Gluten free flour: this won't really change the bake time, but it will alter the taste and texture. I swear by Bob's Red Mill Gluten-Free All Purpose Flour, which you can find on Thrive Market or in a variety of other stores.
- Milk: if you want to make this dairy free, swap out the regular milk for almond or oat milk!
- Sugar: I like using Wholesome Sweet's brand of organic cane sugar, but I also really like their coconut sugar (Bob's Red Mill makes a great coconut sugar too). Coconut sugar is usually a 1:1 replacement, but sometimes, real organic sugar is best, and in these muffins the real deal is where it's at. Plus it's one cup of sugar across all 16 muffins so it's not super sweet.
How to make lemon and raspberry muffins
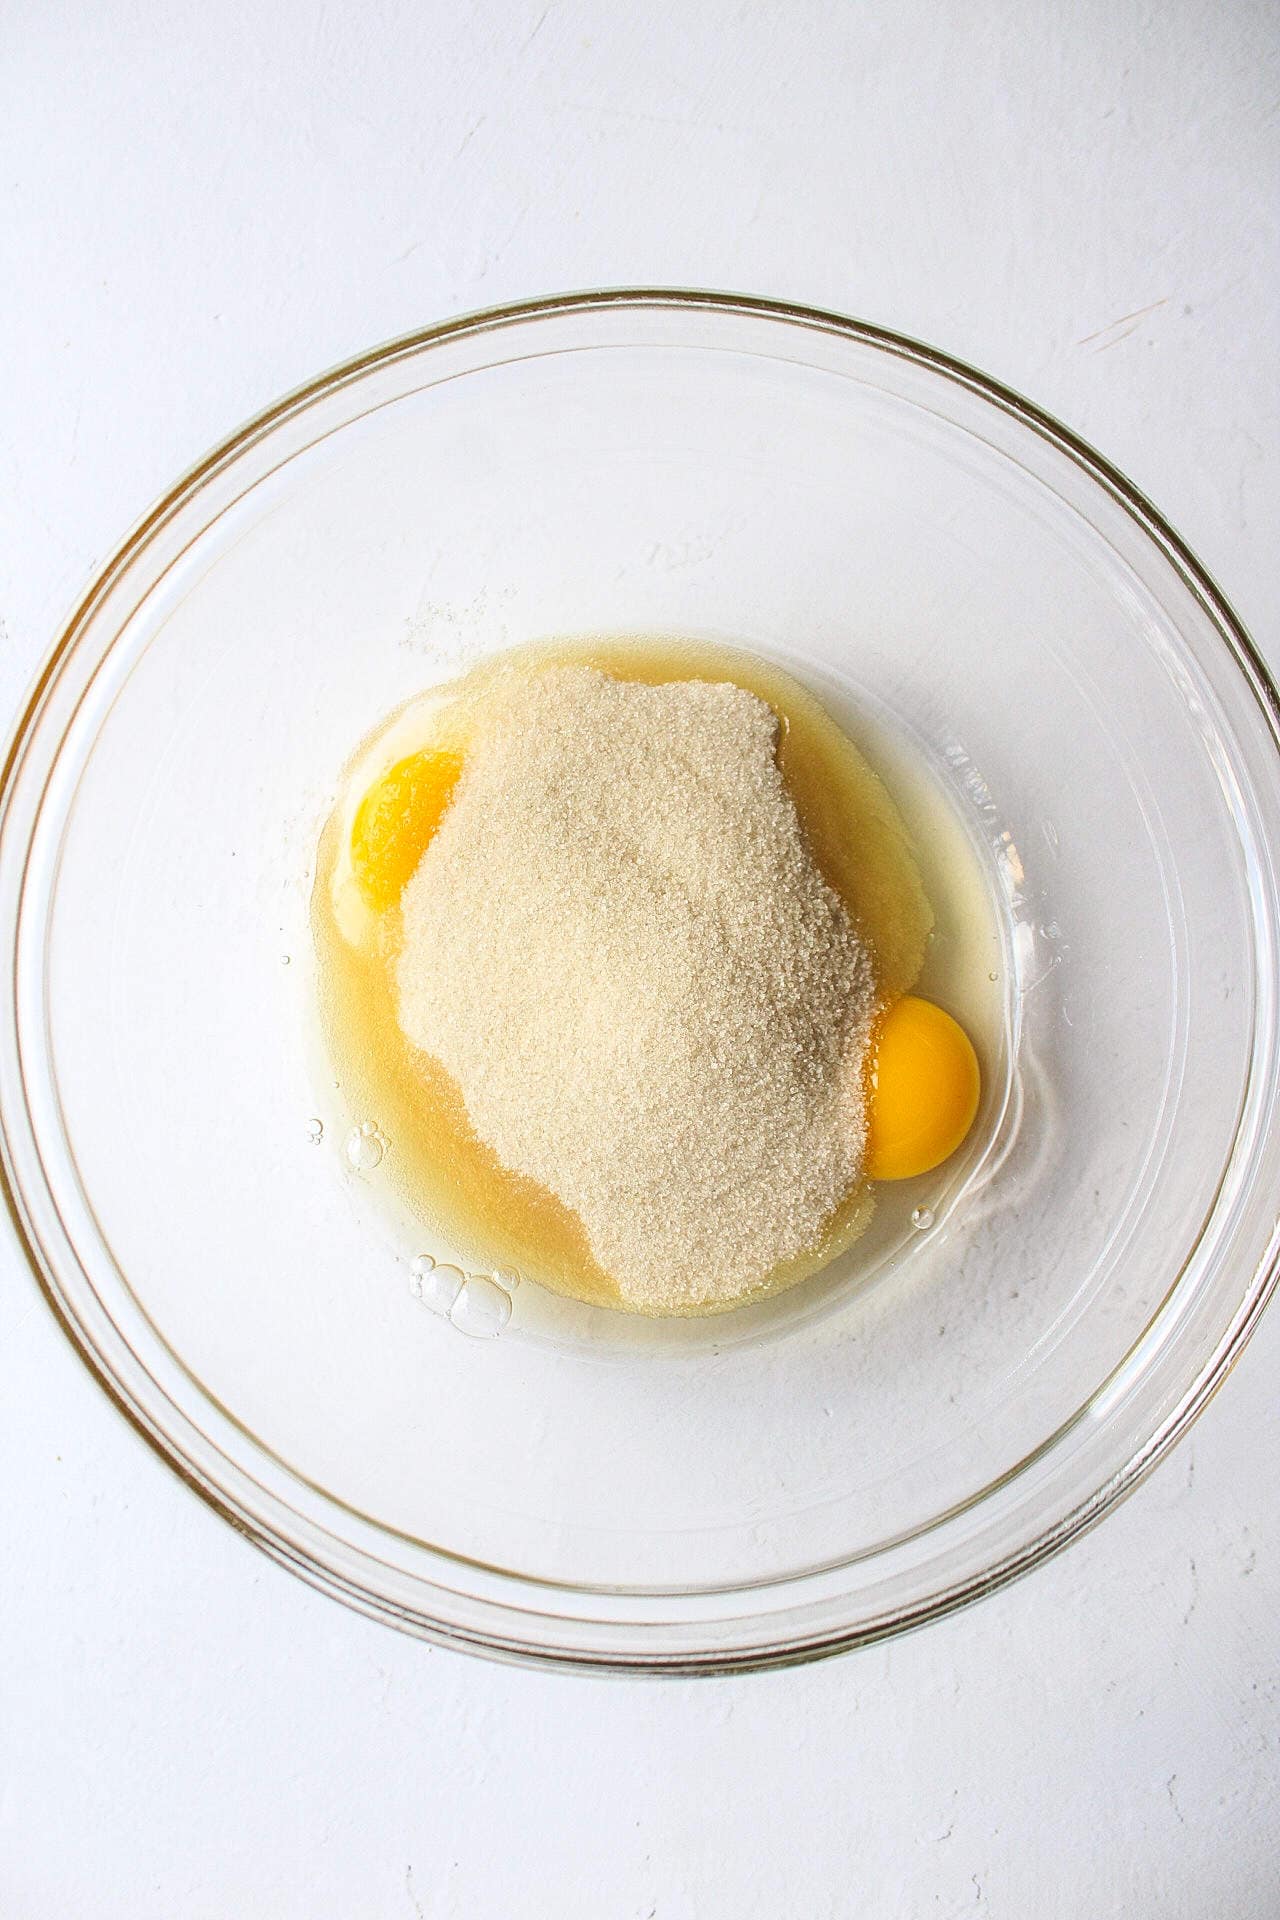
Step 1: In a large bowl, combined the eggs and sugar, using a whisk.
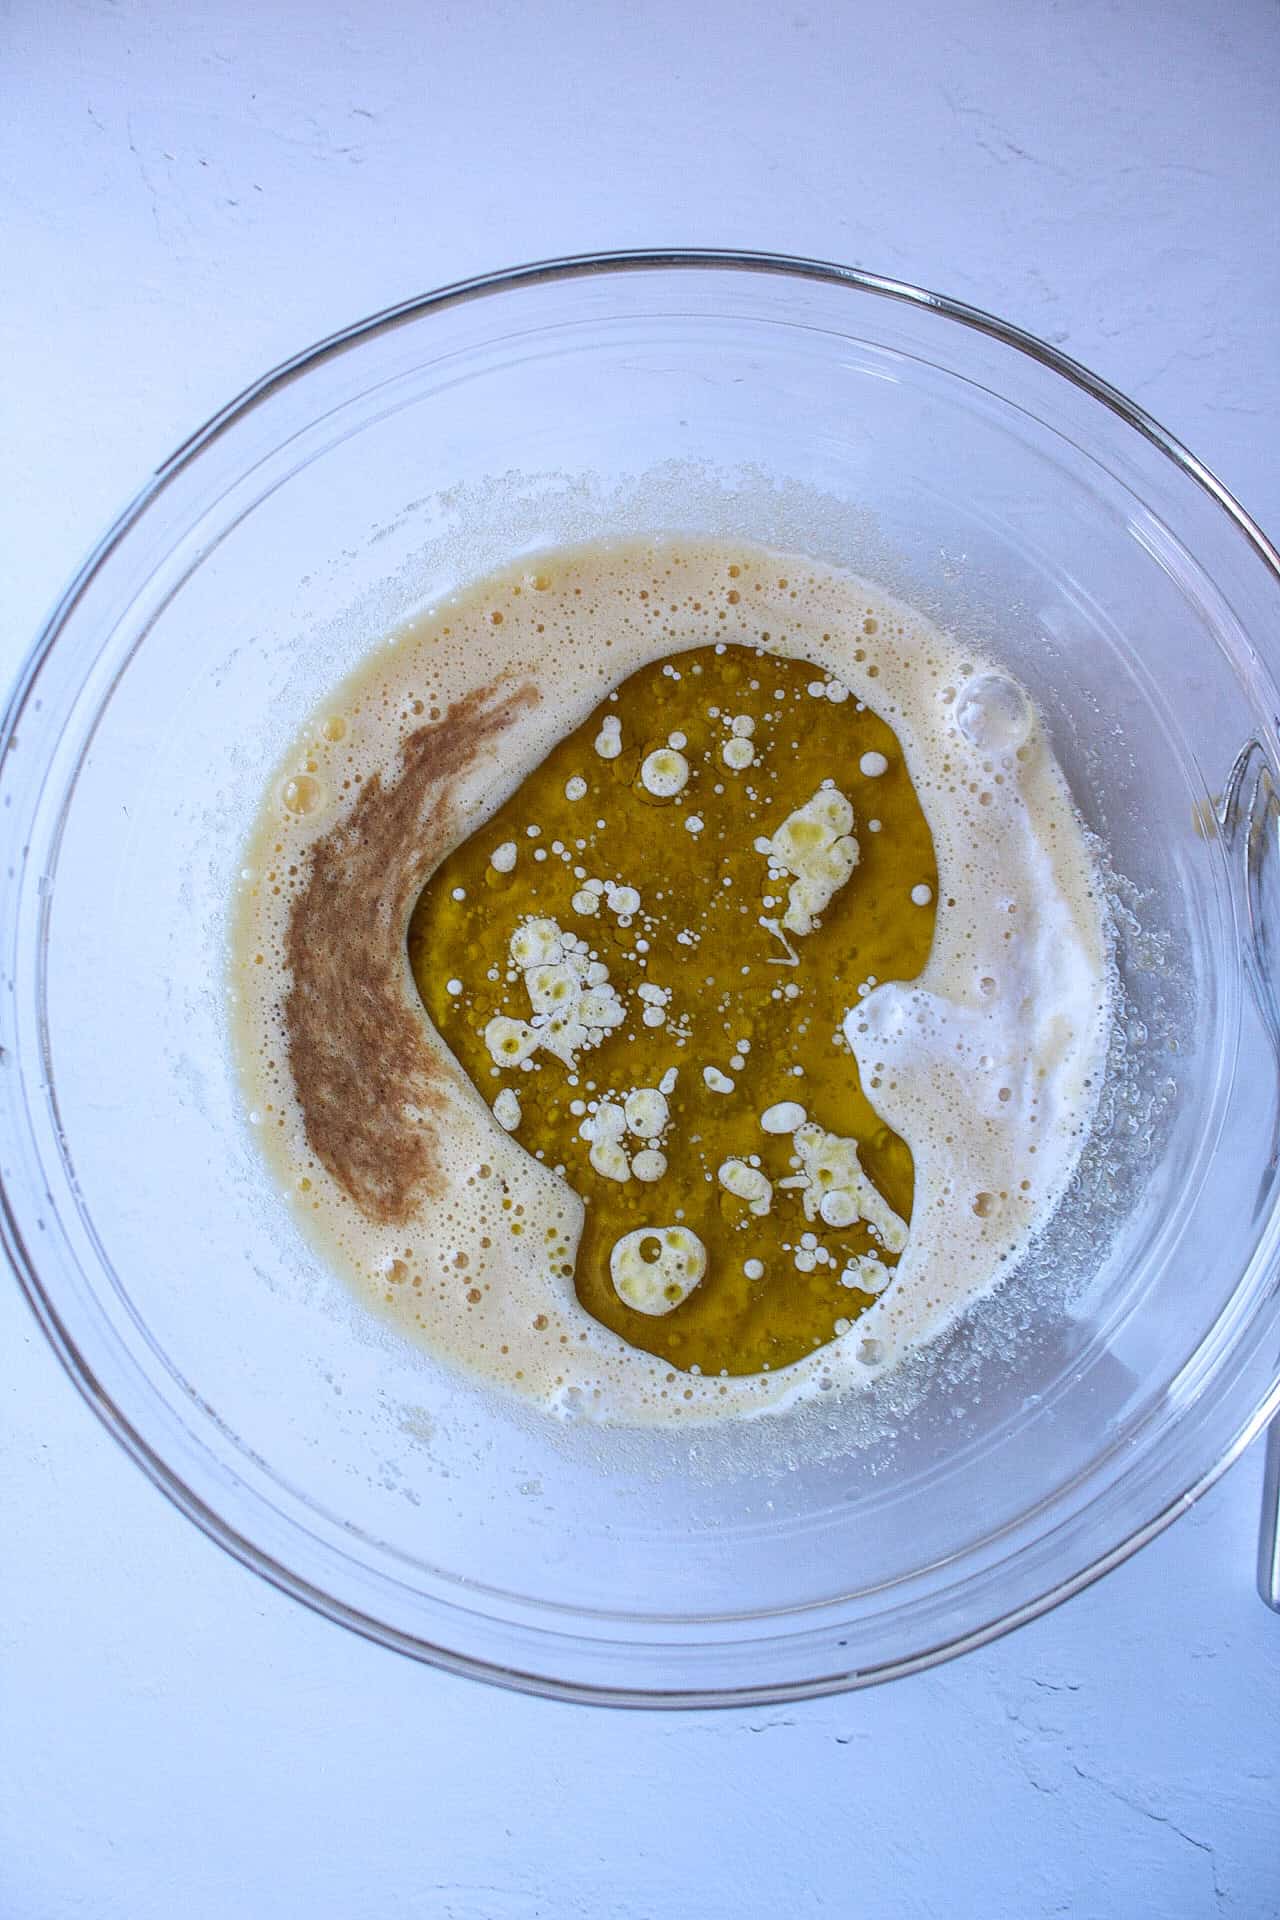
Step 2: To the same bowl, pour in the vanilla extract, oil, milk, and mix to combine.
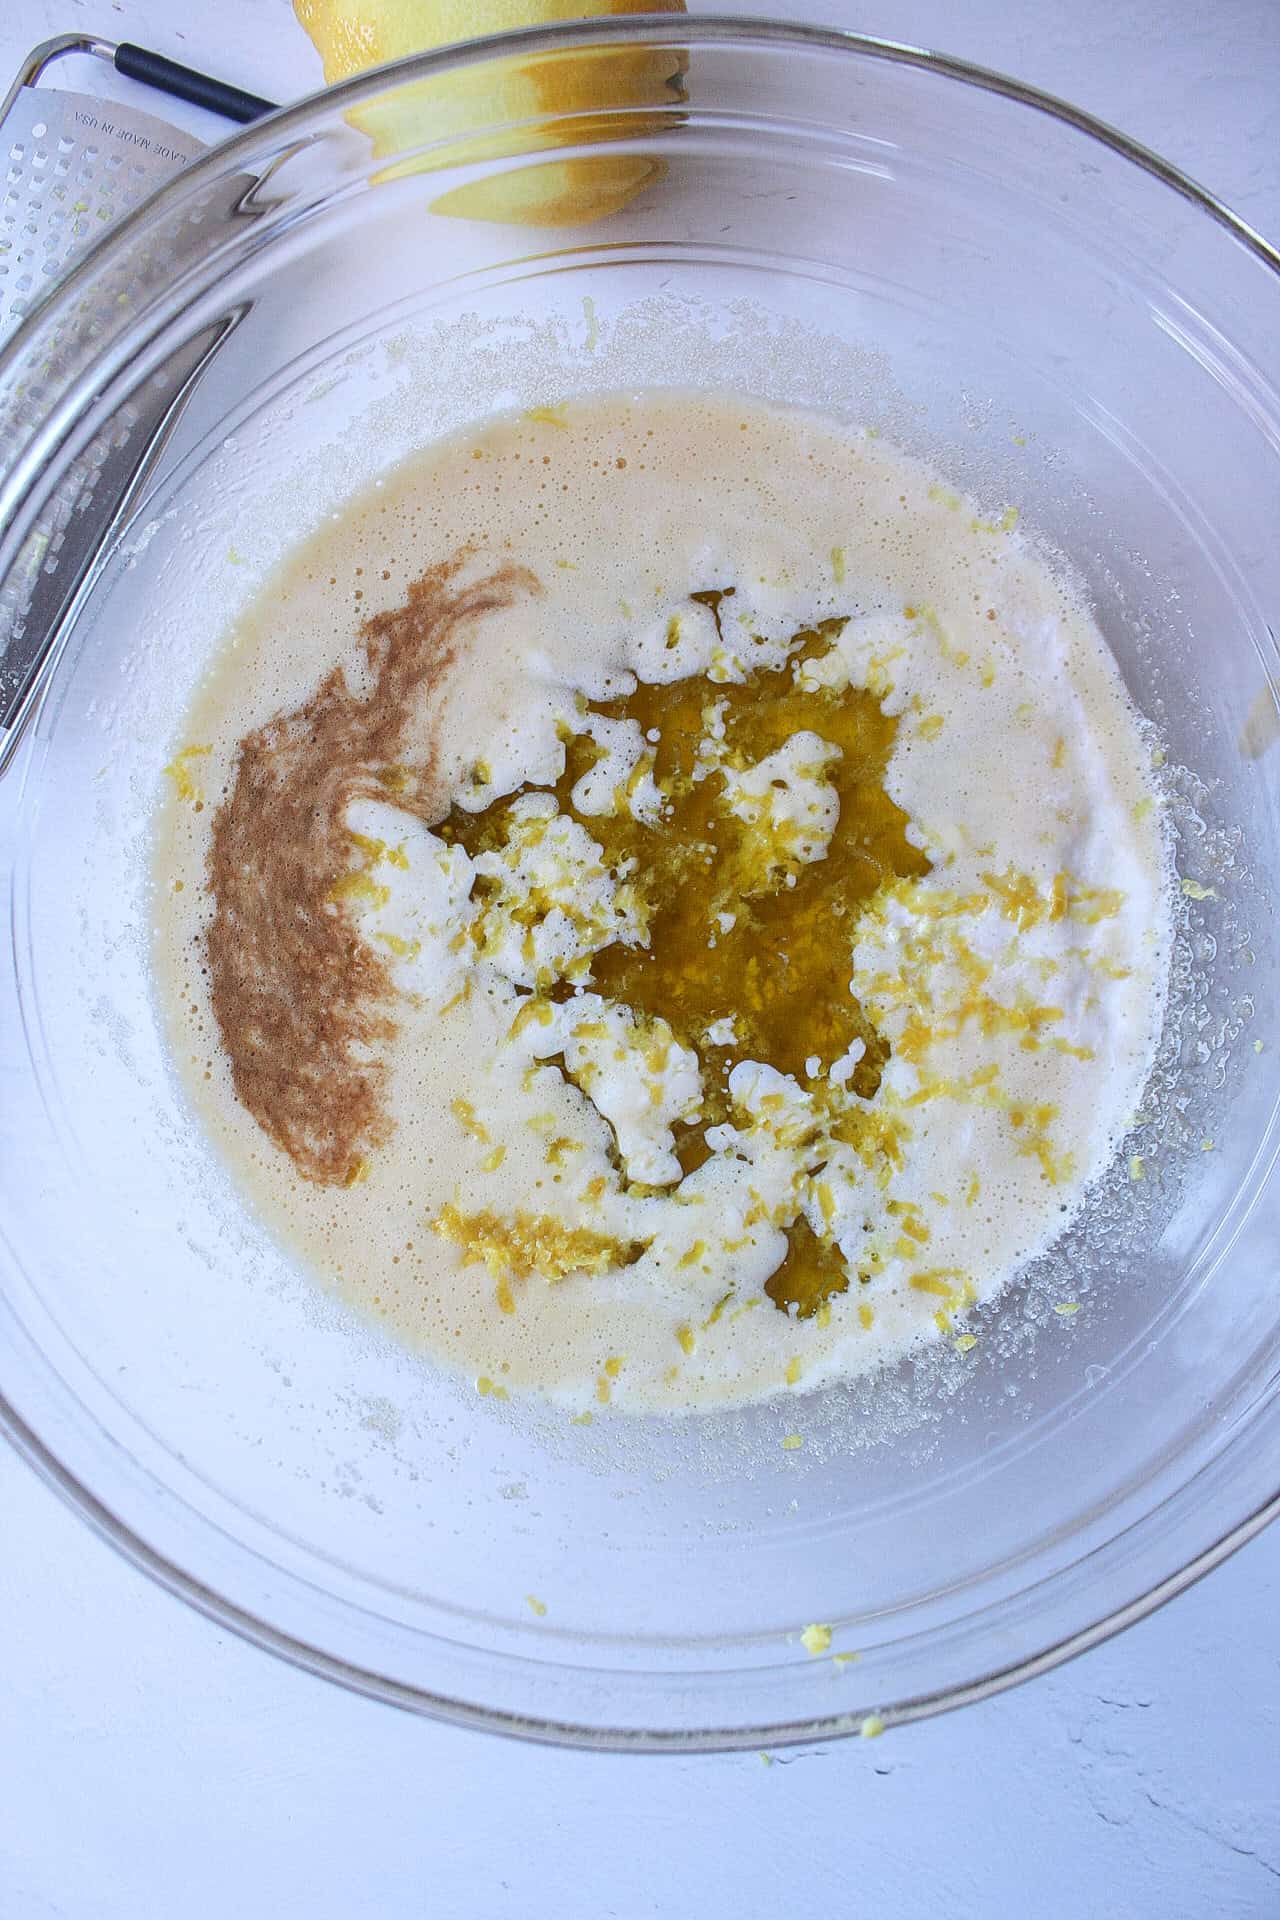
Step 3: Squeeze in the lemon juice, the add in the zest and whisk.
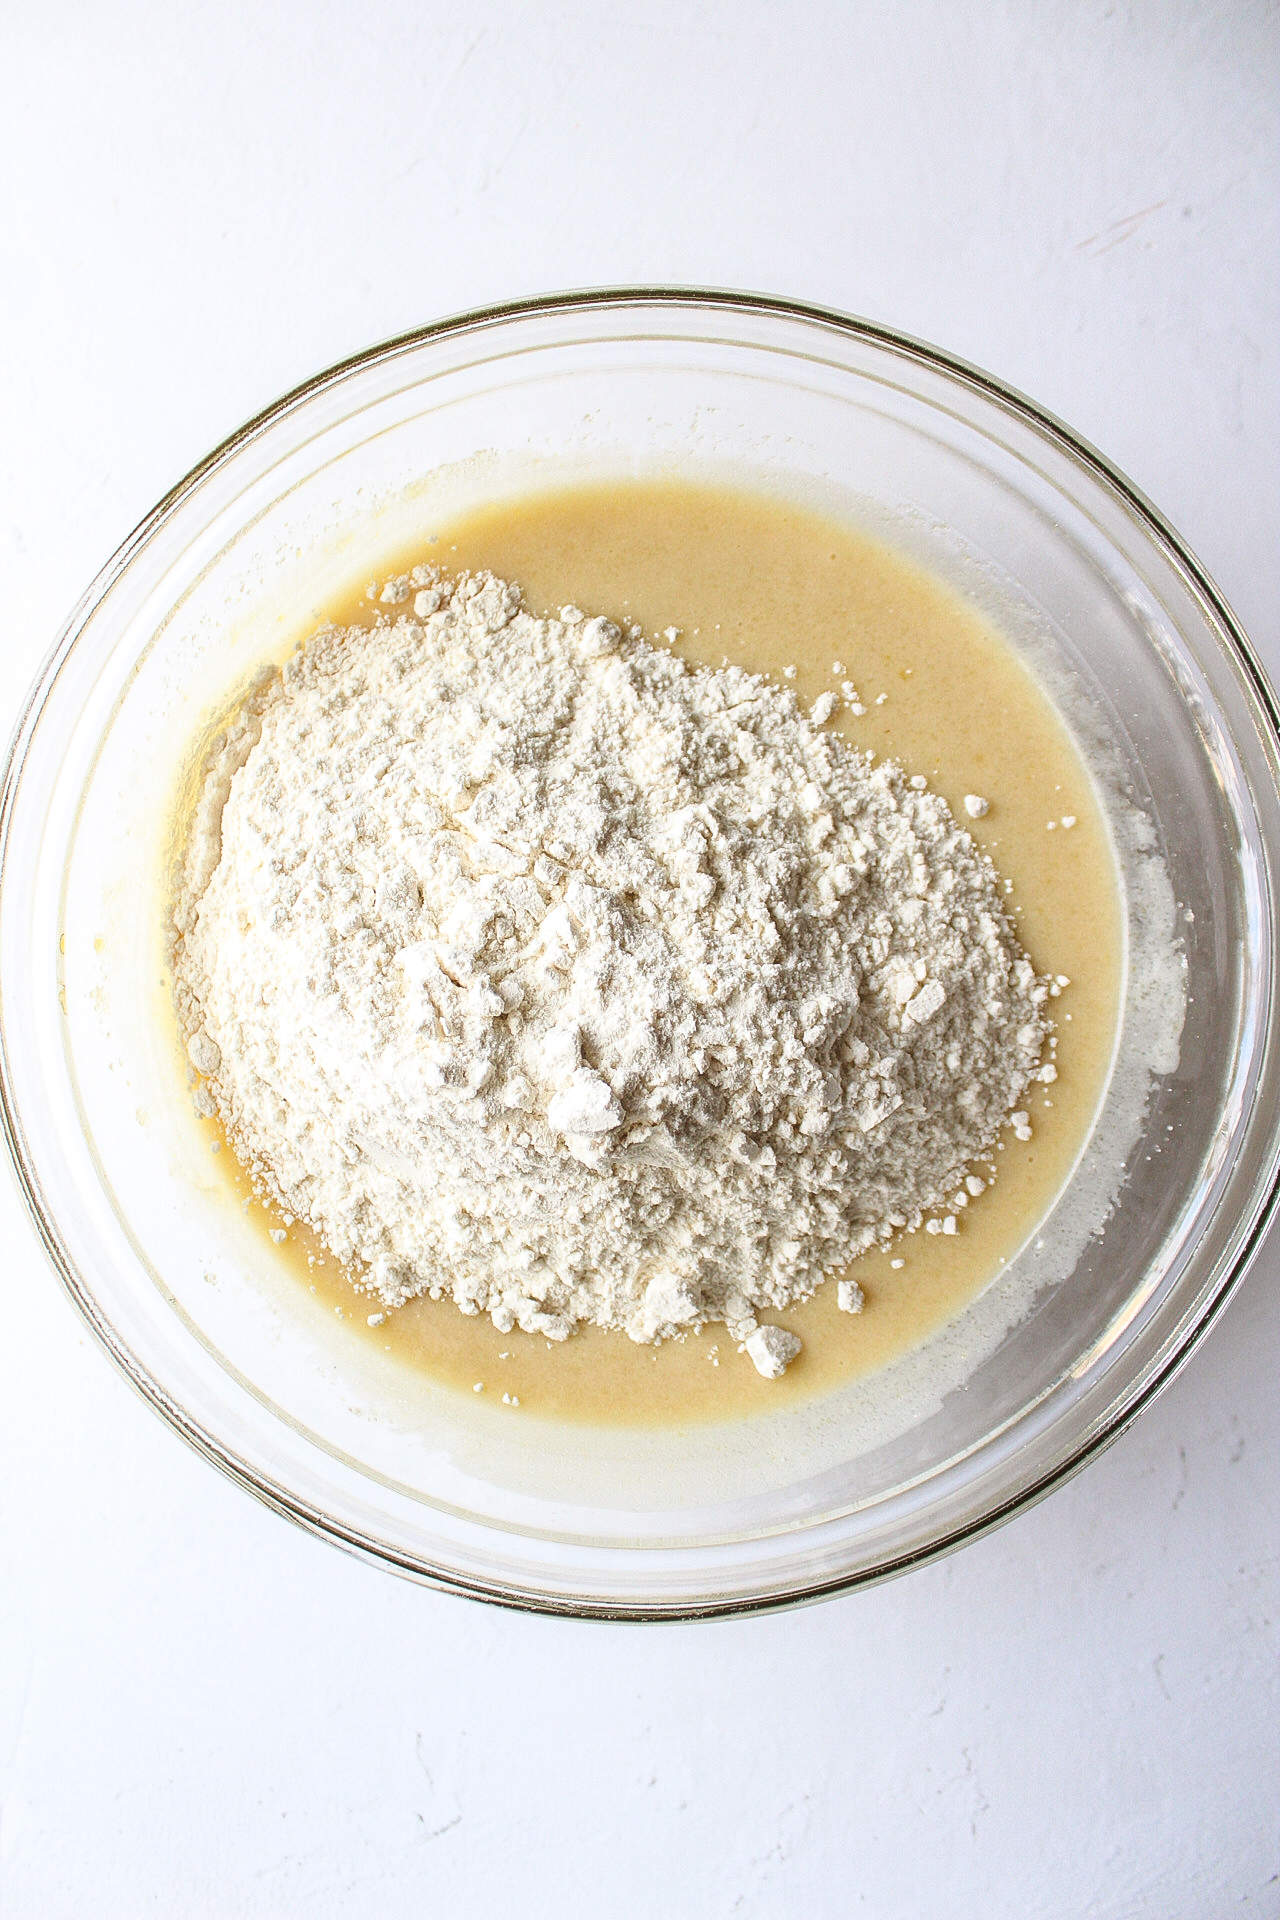
Step 4: In the same bowl, pour in the flour, baking soda, and baking powder.
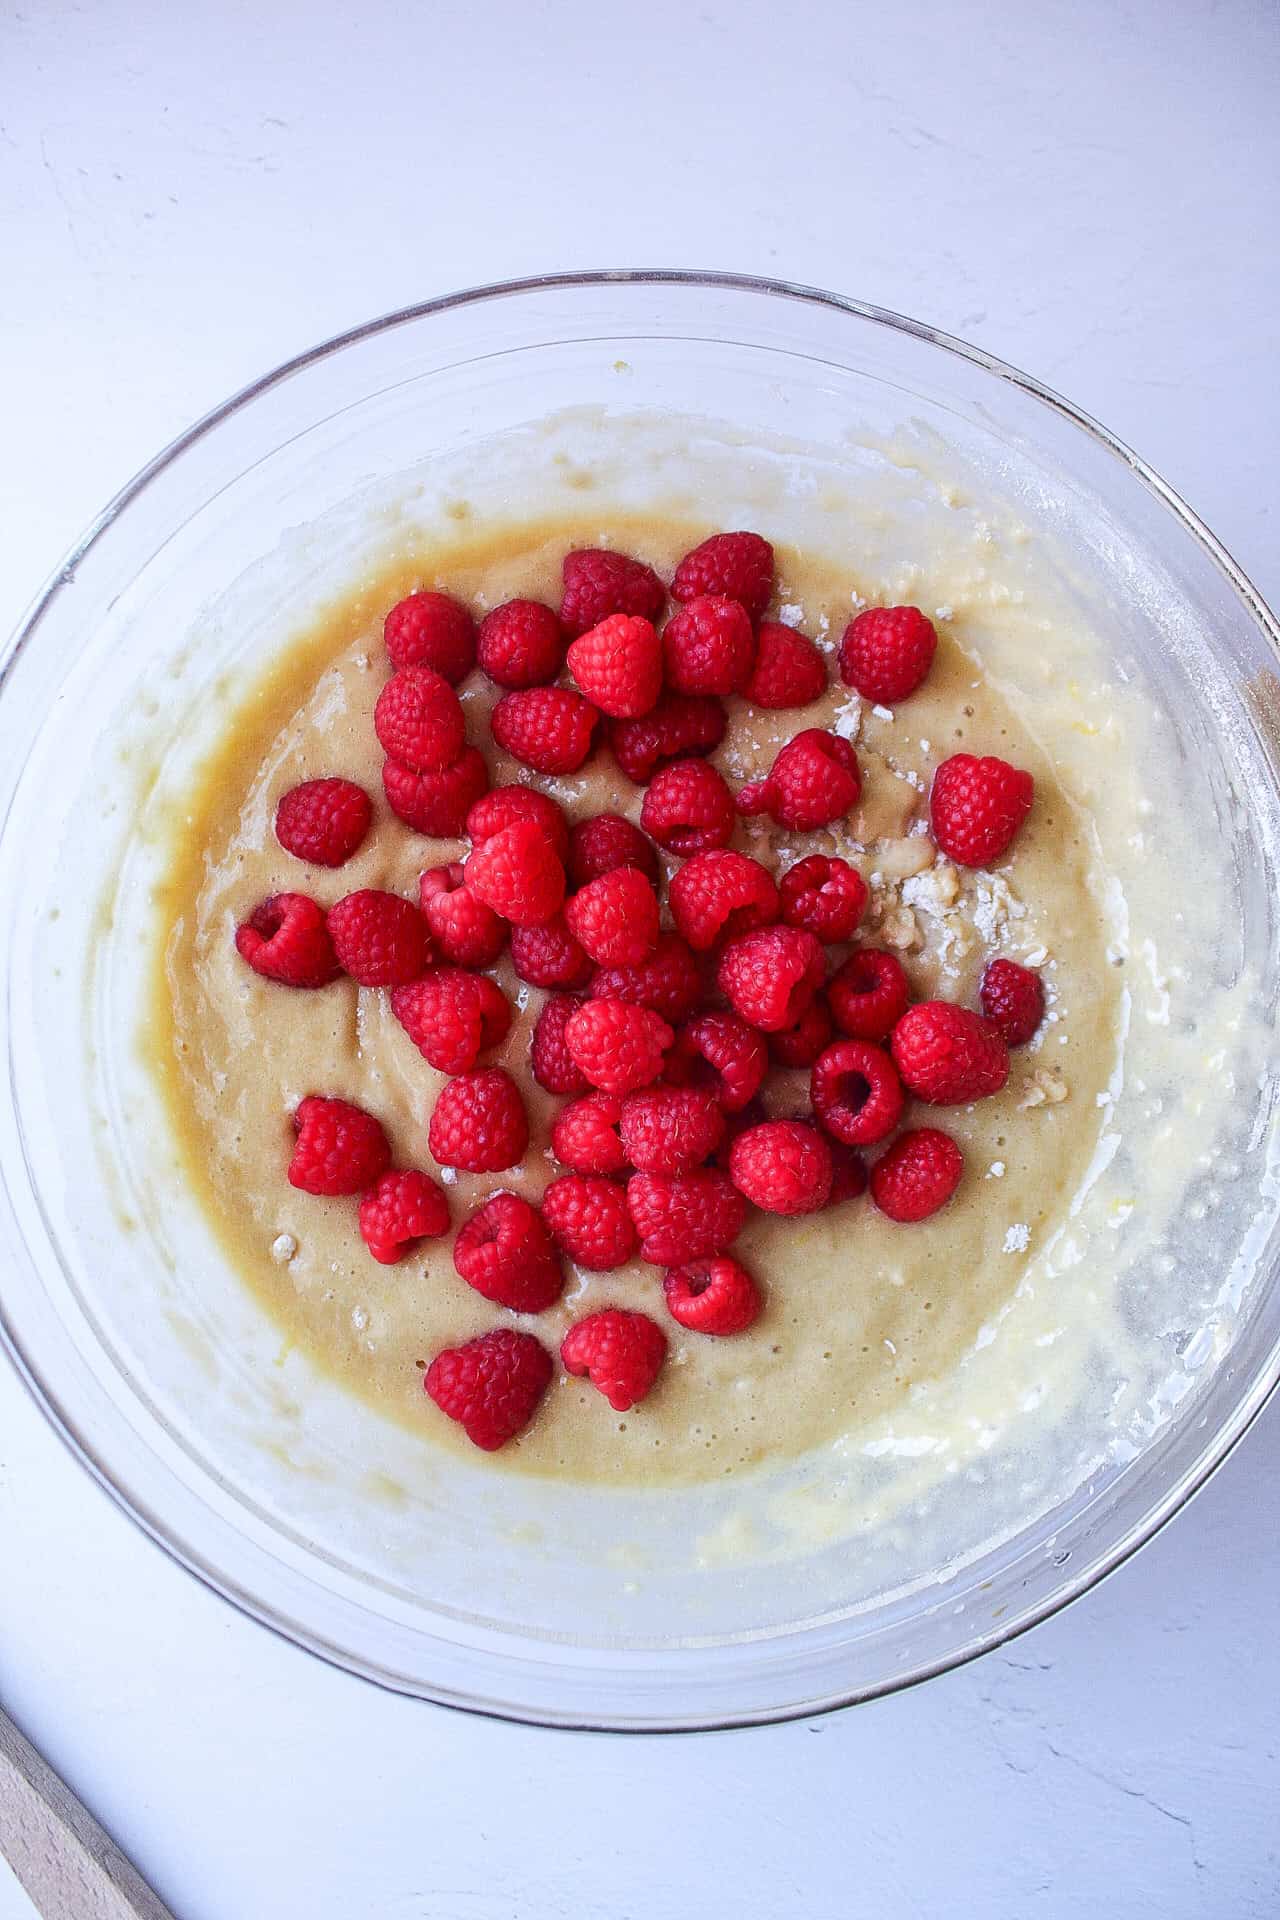
Step 5: Add the raspberries to the batter then fold with a spatula. Let the batter sit for 25-30 minutes. Meanwhile, preheat the oven to 375º.
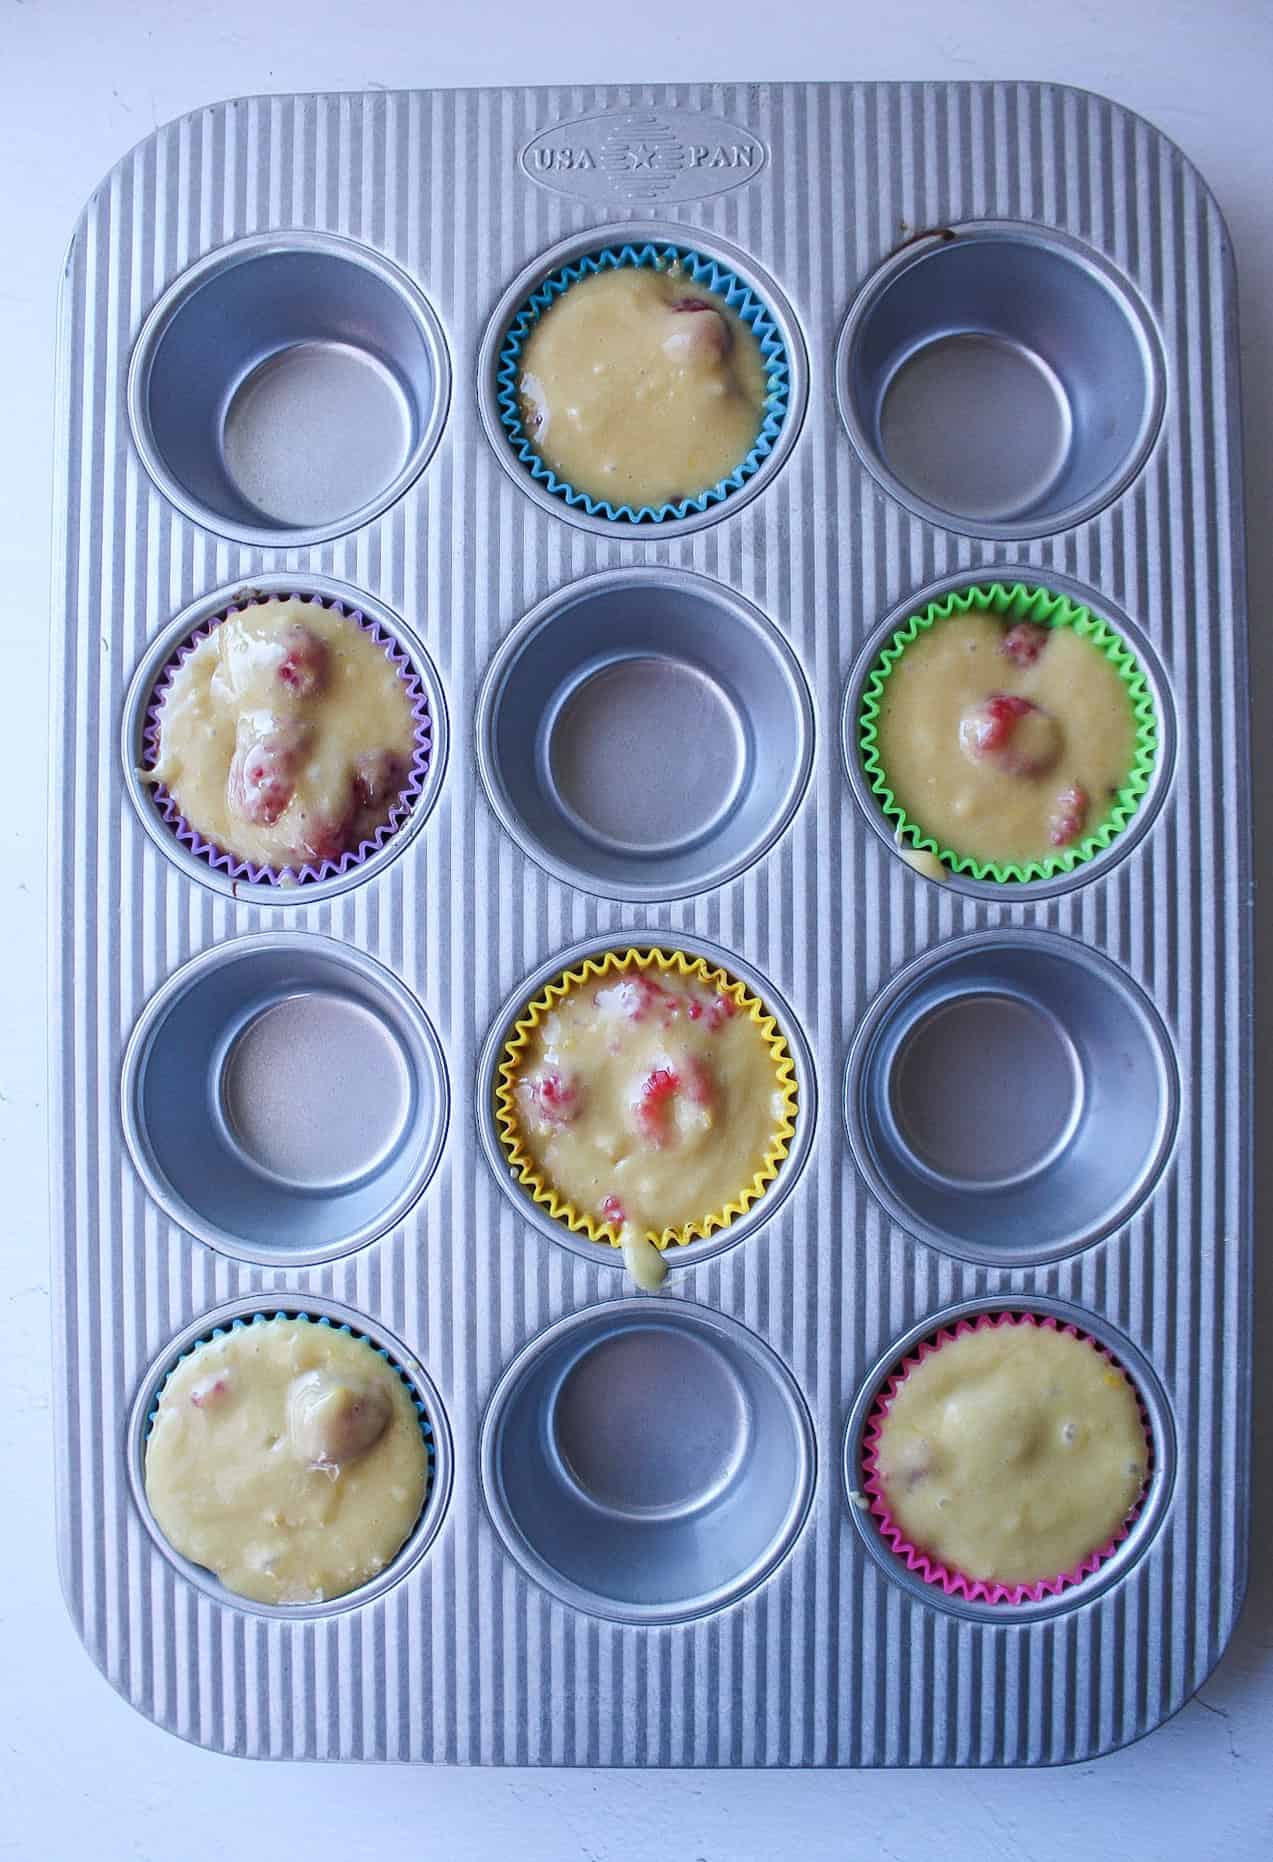
Step 6: Using a large cookie scoop, divide the batter evenly across the muffin tin. Bake for 23 minutes and let cool for 15 minutes afterwards.
Raspberry Lemon Muffins FAQs
You can easily store these muffins in an airtight container on the counter for up to 4-5 days. I don't recommend storing them in the fridge as they will likely dry out.
Place any muffins you'd like to freeze in a ziplock bag. When you want to eat them, you can simply thaw on the counter, they should thaw and be ready to eat within 45 minutes.
You can easily incorporate some chocolate chips, peanut butter cups, or even a drizzle of nutella if that's your vibe.
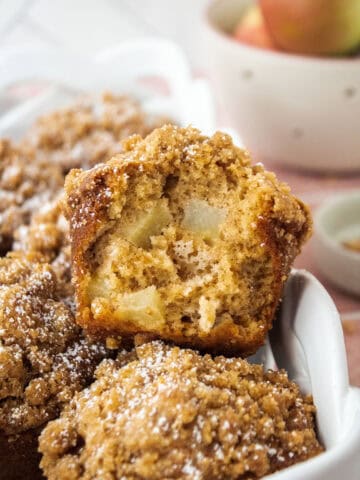
You've got to try these other incredible muffins


Did you love this recipe? ⭐️⭐️⭐️⭐️⭐️ If you're just as in love with this recipe as I am, please share a comment below and rate it! Better yet, share this recipe with family and friends!! Thank you!
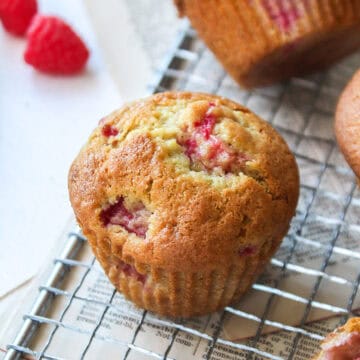
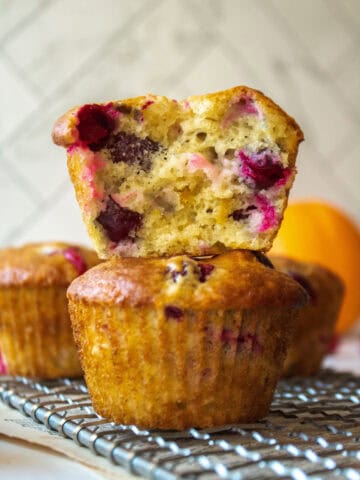
Easy Tart Raspberry Lemon Muffins
Equipment
- 1 kitchen scale optional
- 1 large bowl
- 1 medium bowl
- 1 Muffin tin
- 12 Muffin liners
- 1 spatula
- 1 whisk
Ingredients
- 256 grams all purpose flour 2 cups
- 1 teaspoon baking powder
- ½ teaspoon baking soda
- 2 large eggs room temp
- 200 grams cane sugar 1 cup
- 1 tablespoon vanilla extract
- ½ cup olive oil
- ½ cup whole milk or half and half
- 1 whole lemon juiced
- 1 tablespoon lemon zest
- 1 cup raspberries chopped
Instructions
- In a large bowl, combined the eggs and sugar, using a whisk.
- To the same bowl, pour in the vanilla extract, oil, milk, and mix to combine.
- Squeeze in the lemon juice, the add in the zest and whisk.
- In the same bowl, pour in the flour, baking soda, and baking powder.
- Add the raspberries to the batter then fold with a spatula. Let the batter sit for 25-30 minutes. Meanwhile, preheat the oven to 375º.
- Using a large cookie scoop, divide the batter evenly across the muffin tin. Bake for 23 minutes and let cool for 15 minutes afterwards.
Erica says
These muffins are DE-LISH!!! So yummy and goes together with a cup of coffee in the morning. Definitely recommend!