
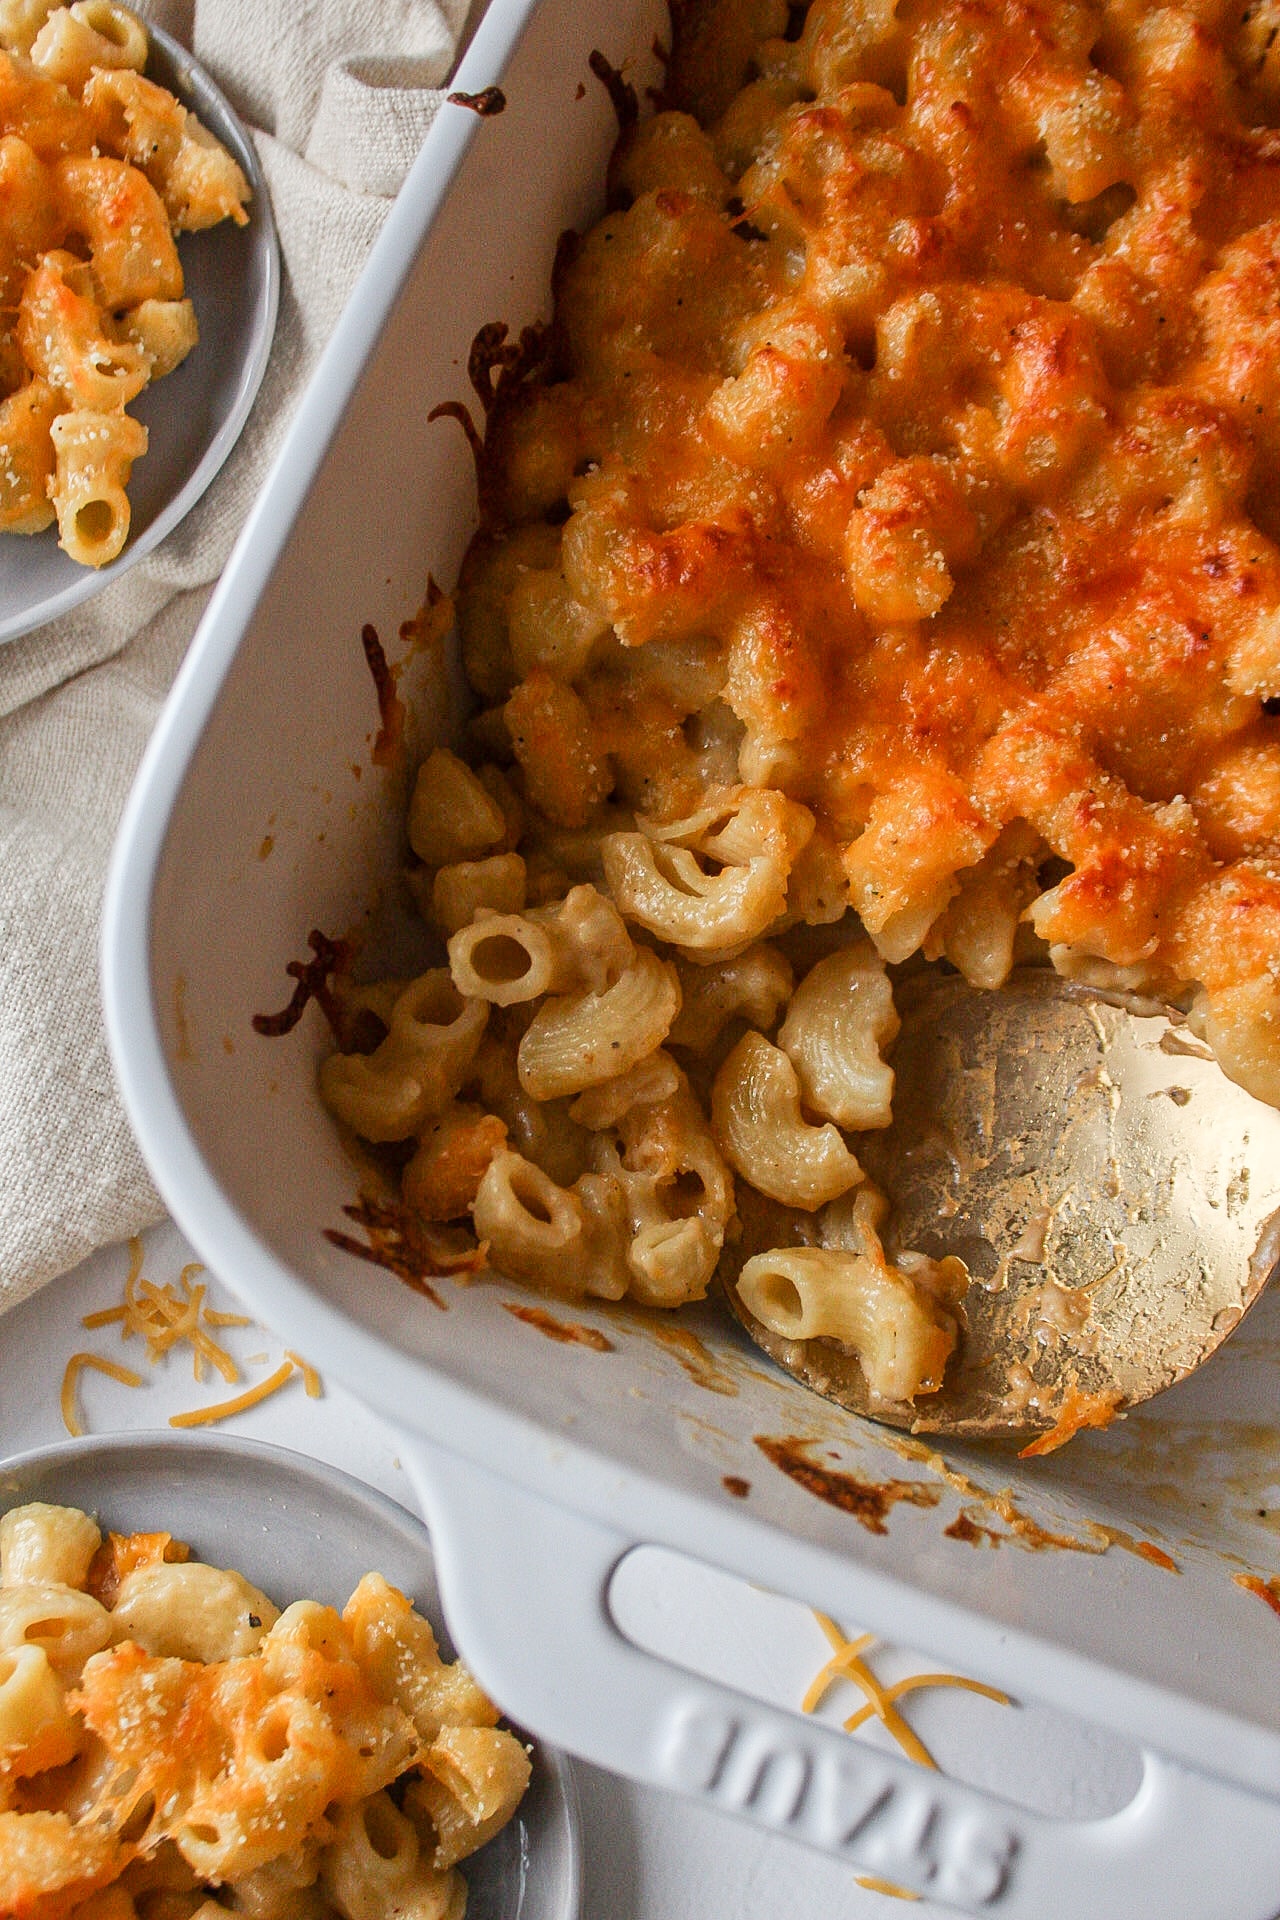
There's something very comforting about making a homemade baked mac and cheese; it's like a warm hug from the inside out. Whether you're feeding kids, hangry adults, or a flock of hungry friends, this mac and cheese is the definition of comfort food done right.
Mac and cheese is such a staple recipe to have, sort of like my creamy spinach pasta or a classic easy baked ziti recipe. Mac and cheese is easy to put together, meal prep for dinner, and tastes way better than that store-bought version.
TL; DR Recipe Summary
- 👩🏼🍳Cook Level: Easy/Beginner
- ⏱️ Cook Time: 30 minutes
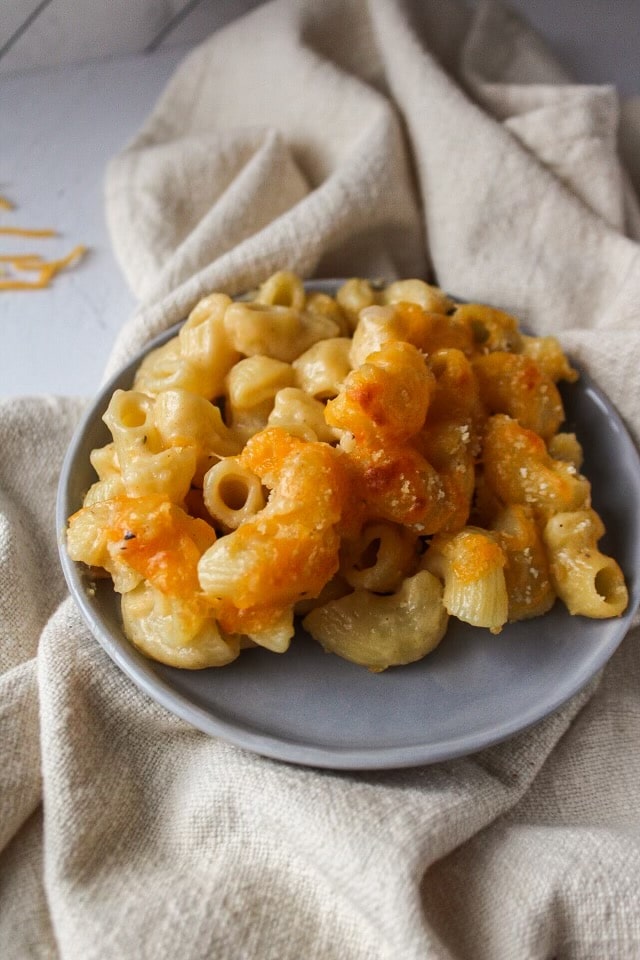
- 😋 Taste: Cheesy, hearty, comforting.
- 🍽️ Best Served With: You can serve this as a standalone course at your next holiday table, or as a side along with sautéed garlicky green beans, roasted baby potatoes, homemade creamed corn, or a simple greens salad.
Jump to:
Tips and tricks for mac and cheese
- Use room temperature milk, butter, and cheese. This helps when stirring it altogether so that the sauce doesn't break as you whisk it all in the pan.
- Use a consistent flame to make the roux and to melt the cheese into the roux.
- Remember to cook the pasta al dente, meaning to the tooth or bite. The pasta will continue to cook when it bakes, so cooking it al dente prevents it from become overcooked and soggy.
- Season the sauce with salt, pepper, and nutmeg. Don't wait to season the dish when it's ready to be baked, you want to season the sauce so that the flavors coat all of the pasta evenly.
The Main Ingredients
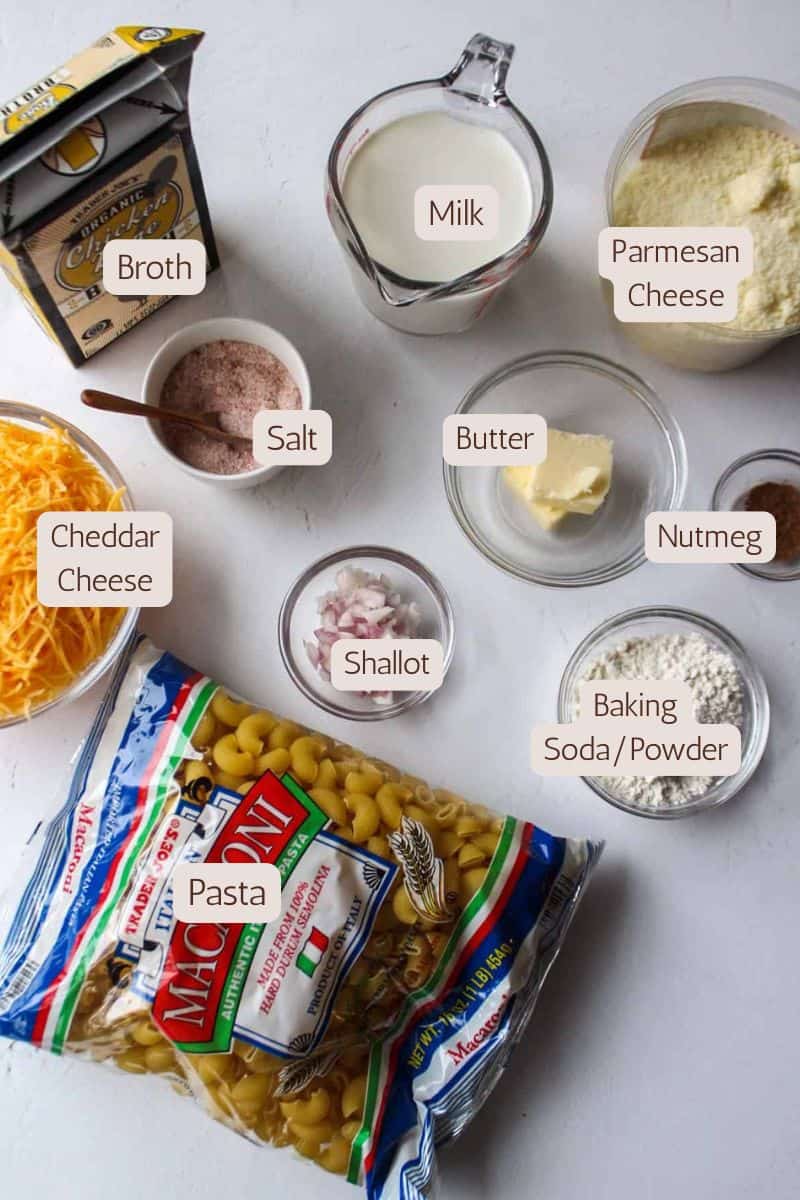
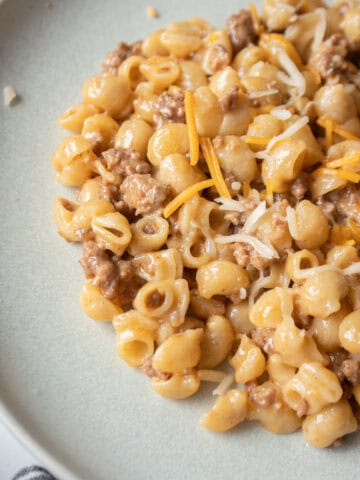
- Pasta: Technically any pasta could be a mac and cheese, but I love traditional elbow macaroni, shells, or a good corkscrew pasta such as fusilli. These types of short pasta catch the sauce well.
- Cheese: choosing a blend of cheeses will amplify this dish and give it the creaminess you want. Cheddar, parmesan, even white cheddar is my personal fav.
- Cream or half and half: adding just a touch of half and half or straight heavy cream will help thicken the cheese sauce to pour over the pasta. Trust me, do not skip this part.
- Vegetable Stock: the stock, preferably either vegetable or chicken, is added to the milk as part of making the cheese sauce. It also adds another flavor profile too.
- Butter: two tablespoons of butter will help make the roux with the flour (to thicken the sauce as well).
- Flour: added to the melting butter in a large saucepan will make the roux prior to adding in the milk and stock.
- Nutmeg: Here's where it gets fun! Nutmeg adds an additional flavor profile, but on a different level. It gives the entire recipe a warmth, a subtle spice, and really lifts the cheese flavor.
- Salt and pepper: I mean, of course you need a little of both here :). Whisk it into the cheese sauce before pouring over the pasta.
Did you love this recipe? ⭐️⭐️⭐️⭐️⭐️ If you're just as in love with this recipe as I am, please share a comment below and rate it! Better yet, share this recipe with family and friends!! Thank you!
Simple Swaps and Substitutions
- Pasta - Instead of using regular flour pasta, you can easily use gluten free penne. Other types of pasta shapes that work great with a baked MAC include penne, rigatoni, fusilli, or cavatappi.
- Cheese - Swap the regular cheese used in this dish for dairy-free.
- Milk - We use both milk and stock in this recipe, but you can use almond or coconut milk in place of the regular milk.
- Stock - I like to use a vegetable stock here for added veggies and also the flavor, but chicken stock works great too.
How to make baked macaroni and cheese
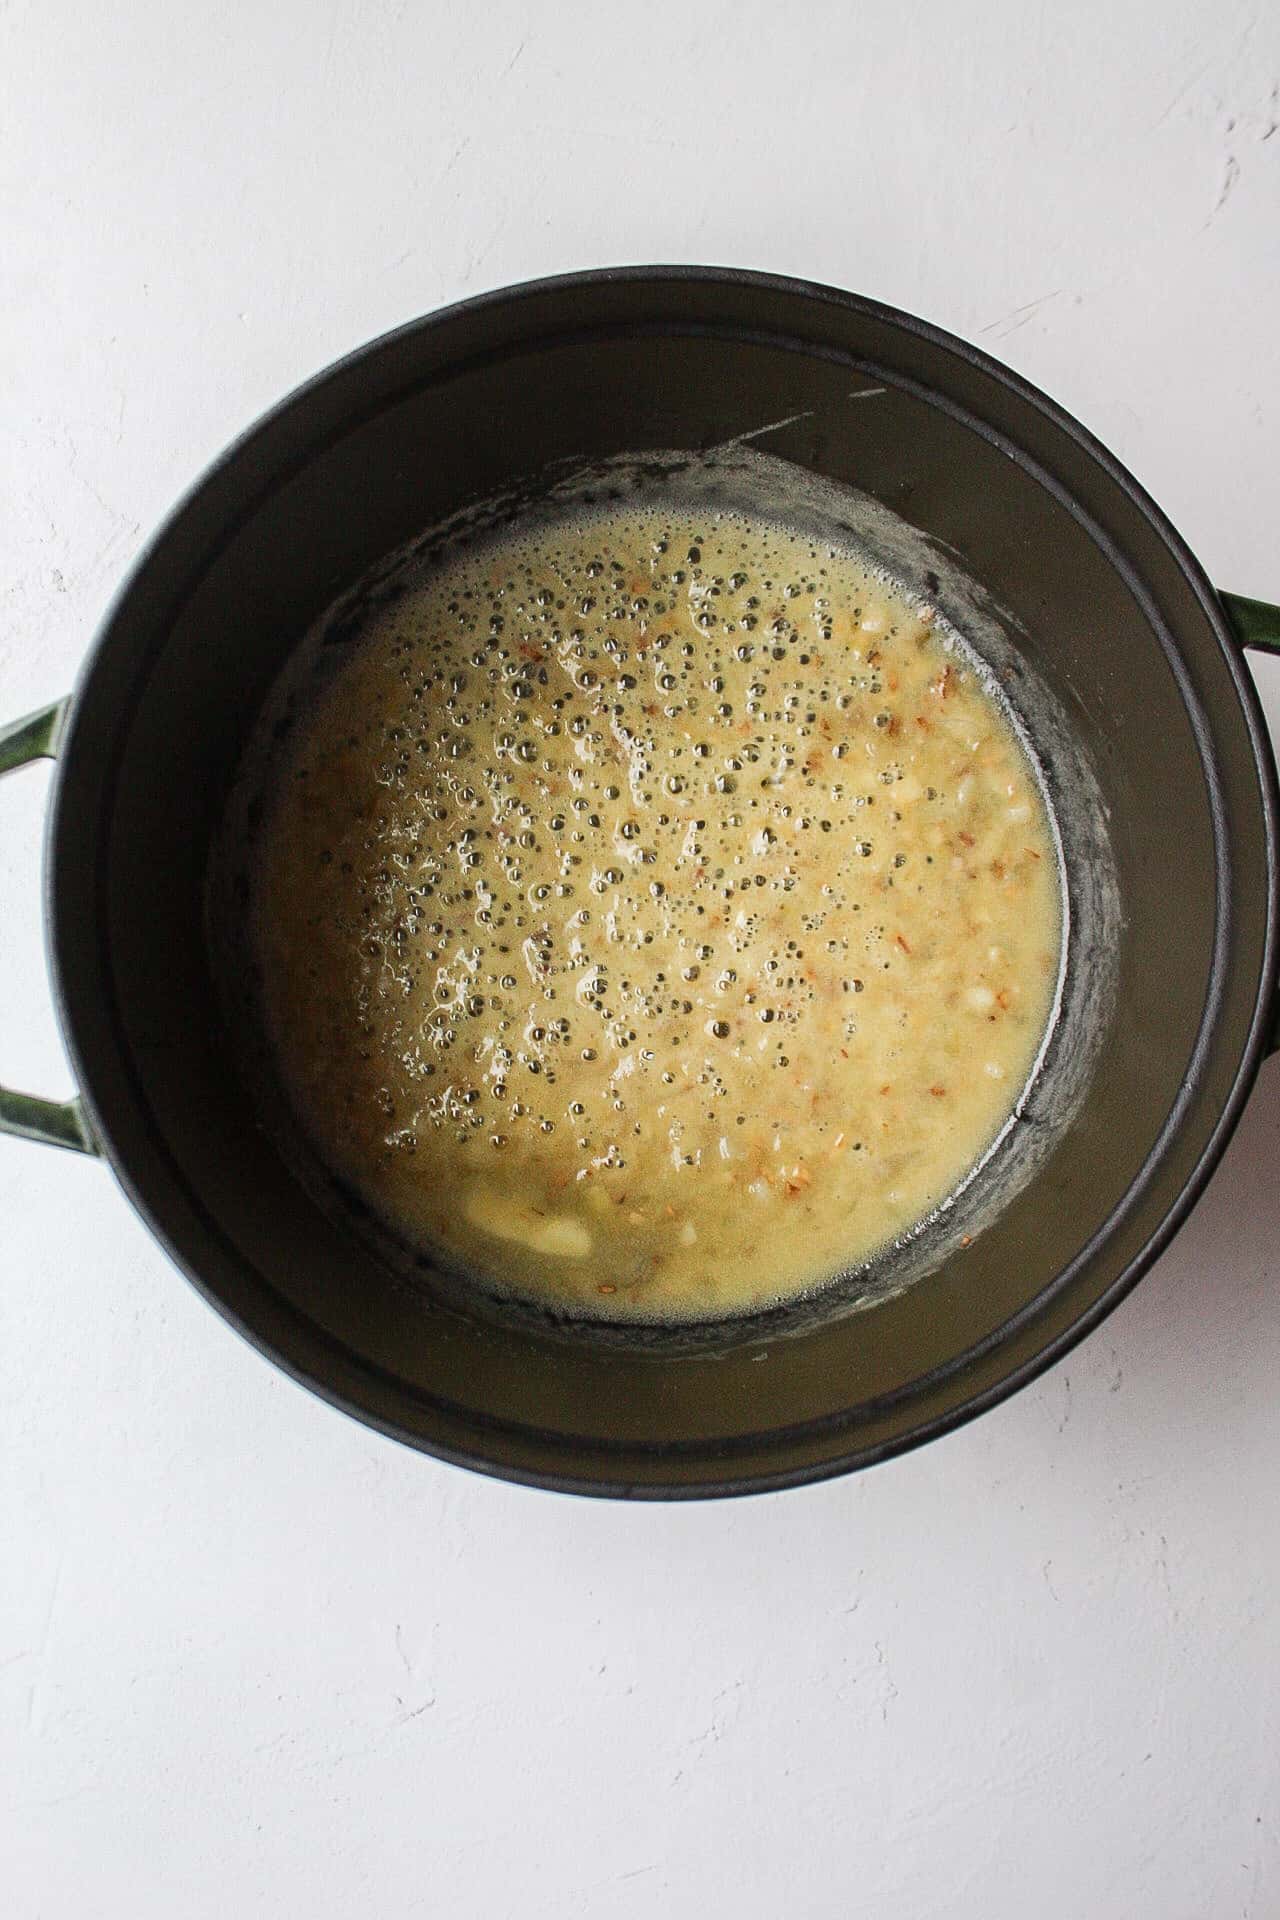
Step 1: Start by preheating the oven to 350°. Cook the pasta to al dente, then strain pasta and set aside. Meanwhile, add the ¼ cup flour to a large deep pan. Throw in butter and begin to melt butter and stir until the mixture becomes a thick, creamy paste. To the pan, pour in the milk and stock. Stir the roux on a low flame with a metal whisk until it begins to thicken and bubble.
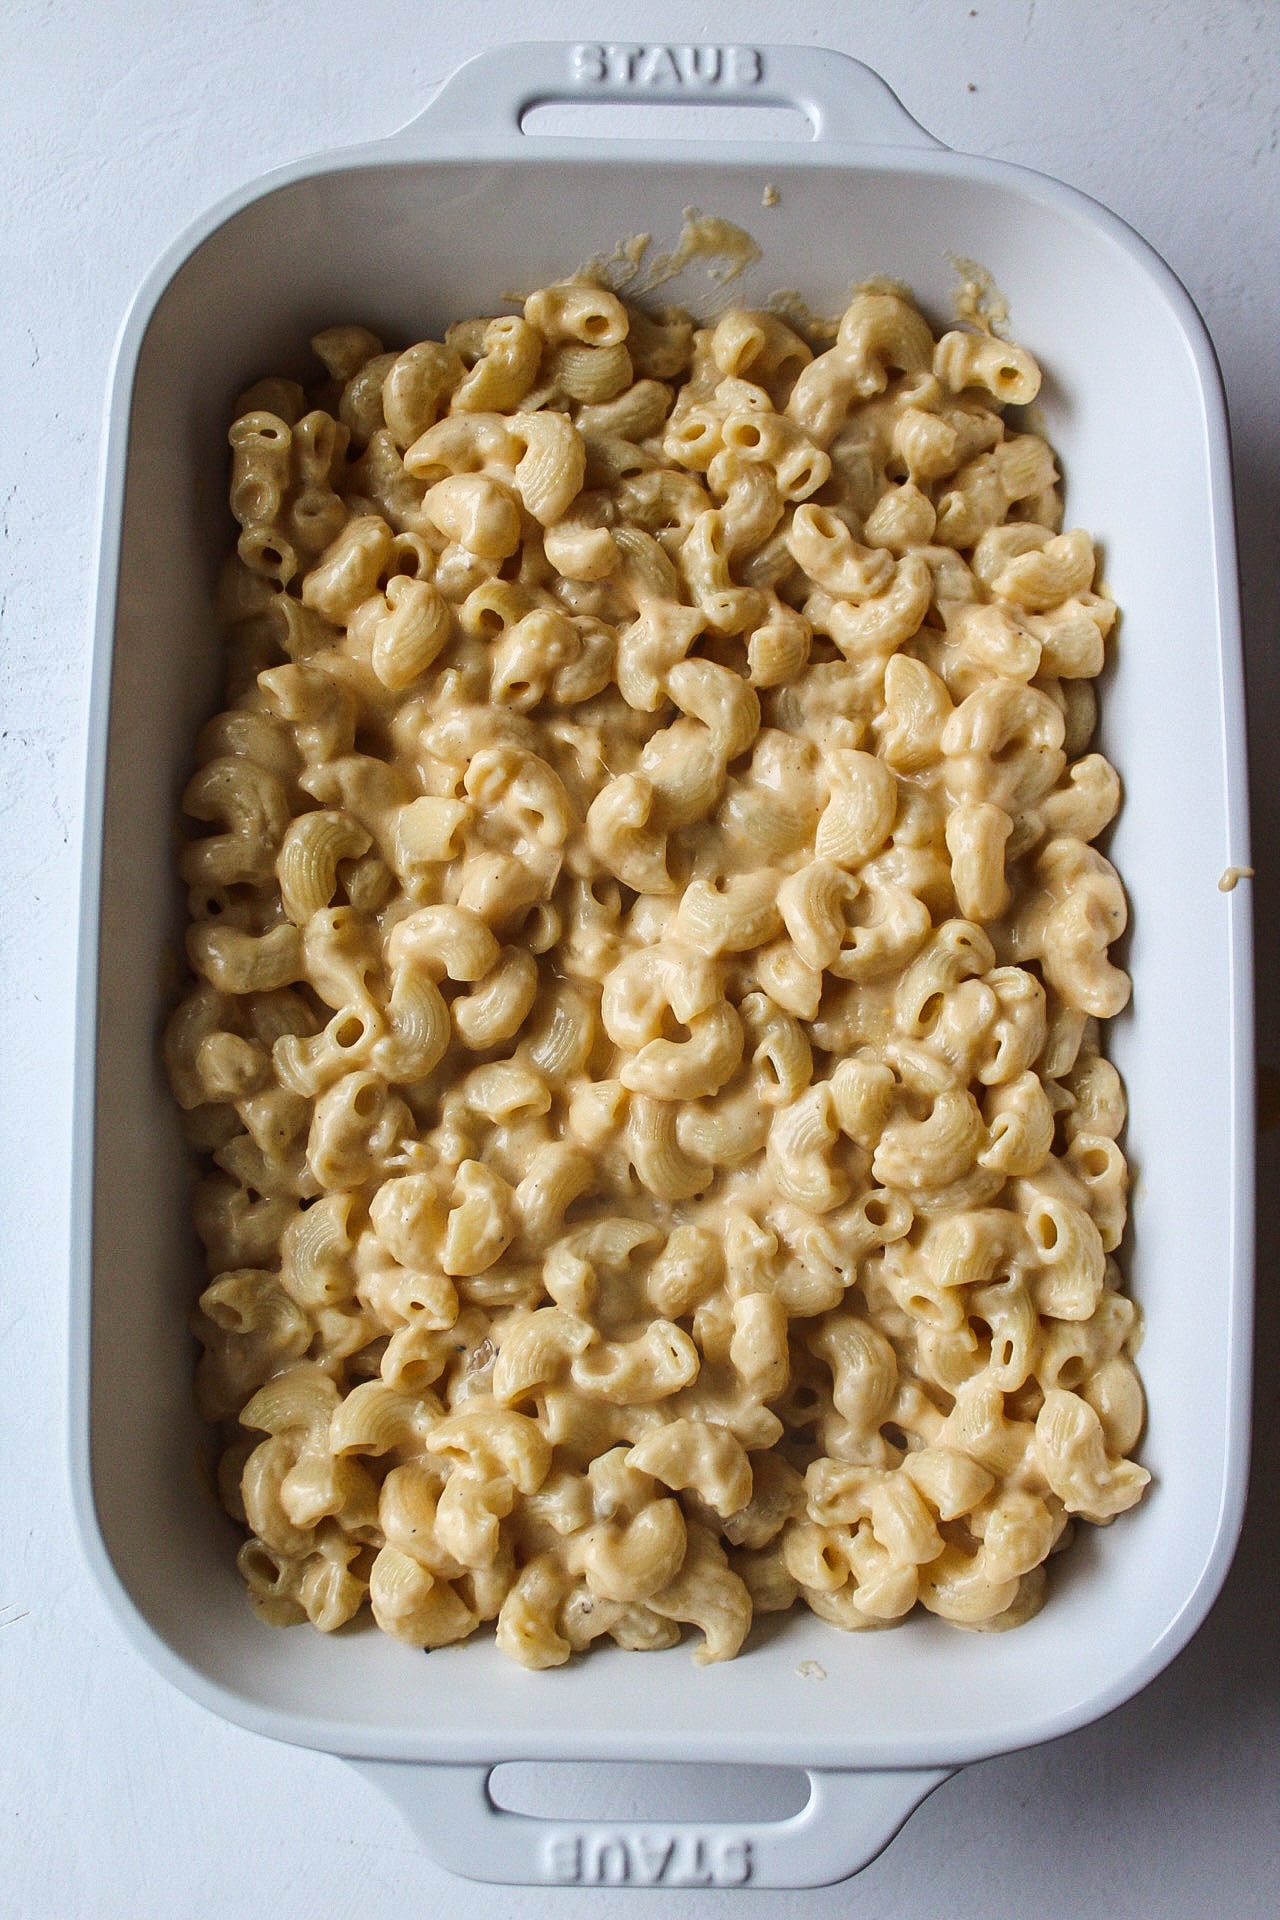
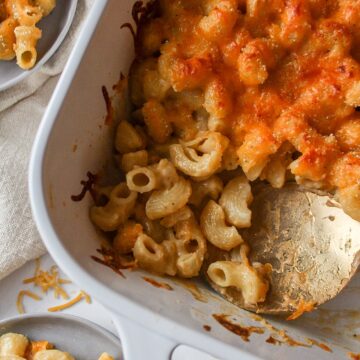
Step 2: Layer in cheese handfuls at a time, stirring to combine and melt cheese, adding more cheese as desired. Season with salt, pepper, and nutmeg. Add in the cooked pasta and stir to coat. Turn off the flame and keep stirring until the pasta thickens. Prep an oven safe baking dish, pour in the pasta and sprinkle breadcrumbs.
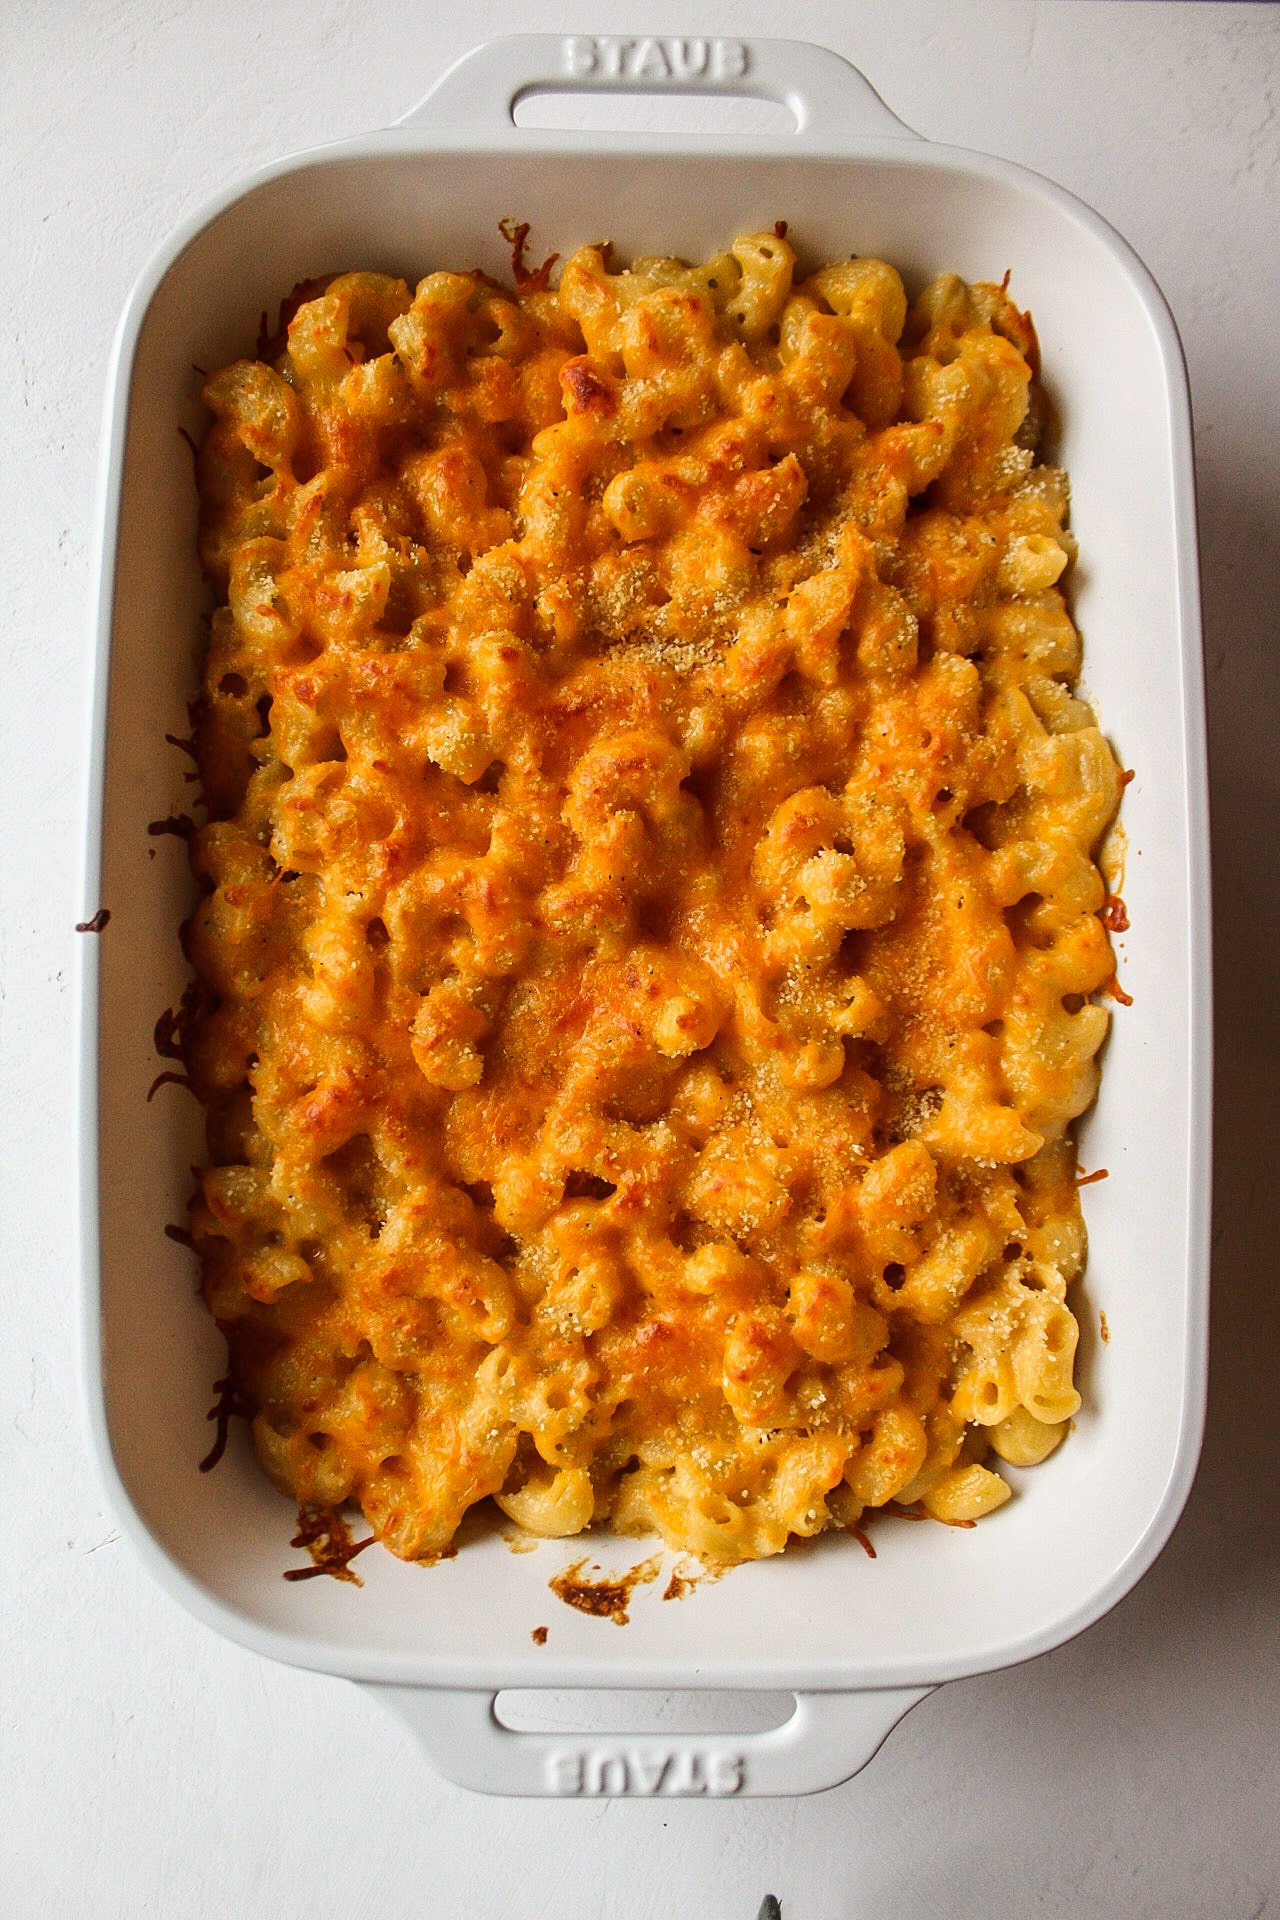
Step 3: Bake for 15 minutes and then broil for two minutes or just until top noodles are golden and crisp, and the cheese is slightly browned. Serve immediately.
Baked Mac and Cheese FAQs
Add any leftover macaroni and cheese into an airtight container and place in the fridge. Consume up to 4 days.
You can simply place the entire dish into the freezer by wrapping in plastic wrap, then aluminum foil, labeling the date when it was baked.
I like to reheat in the oven on a lower heat (325º) for 15 minutes so that it gets nice and warm. If you are reheating from the freezer, bump up the time and temp to 20 minutes at 350º.
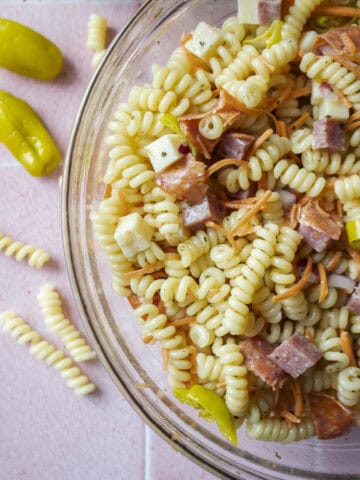
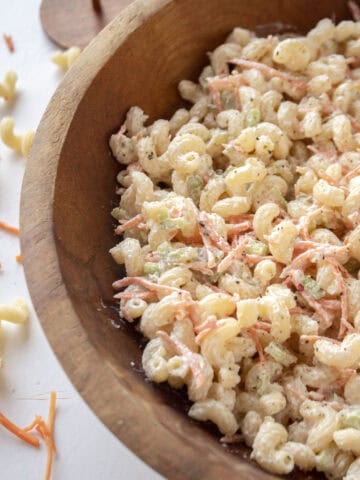
Looking for other creamy pasta goodness? Check these out!
Did you love this recipe? ⭐️⭐️⭐️⭐️⭐️ If you're just as in love with this recipe as I am, please share a comment below and rate it! Better yet, share this recipe with family and friends!! Thank you!
Easy Baked Macaroni and Cheese
Equipment
- 1 strainer
- 1 large pot
- 1 oven safe baking dish
- measuring cups and spoons
- whisk
Ingredients
- 1 lb pasta
- 2 tablespoon butter
- ¼ cup all purpose flour
- 1 cup chicken stock
- 1 cup half and half or heavy cream
- 1 teaspoon nutmeg
- salt
- pepper
- 2 cups cheddar cheese
- ¼ cup breadcrumbs
- ½ cup parmesan cheese
Instructions
- Preheat the oven to 350°.
- Boil the pasta. For pasta other than regular durum, cook a minute under box recommendations. Strain pasta and rinse.
- Meanwhile, add the ¼ cup flour to a large deep pan. Throw in butter and begin to melt butter and stir until the mixture becomes a paste.
- Add in the milk and stock. Stir on a low flame until it begins to thicken and bubble.
- Layer in cheese handfuls at a time, stirring to combine and melt cheese, adding more cheese as desired. Season with salt, pepper, and nutmeg.
- Add in the cooked pasta and stir to coat. Turn off the flame and keep stirring until the pasta thickens.
- Prep an oven safe baking dish, pour in the pasta and sprinkle breadcrumbs.
- Bake for 15 minutes and then broil for two minutes or just until top noodles are golden and crisp, and the cheese is slightly browned. Serve immediately.

Paula says
I loved this Mac and cheese recipe. I added a little more cheese to the sauce when it was in the pan, and added a little garlic powder too. It was so perfectly tasty and not overly heavy. Will be making again this weekend !!
Sha Peace says
cant wait till Thanks giving to eat this ( may have to make it before )
Amanda says
I made this for my family a couple of nights ago after trying another blogger's mac and cheese and frankly, this was so much better. It wasn't as cheesy or heavy, and I liked the breadcrumbs on top. I'll be making this for Turkey Day definitely.!
Samantha Coulton says
Morgan has a way with knowing exactly how to integrate flavors that make the recipe not confusing but the flavor.... mmm mm mmm. Fave mac snd cheese recipe! Can't wait to try more